

12 aug 2026
A high-quality PDF starts with a good scan, but getting one isn’t always possible. Sometimes you have to capture a document in less-than-ideal conditions, which can result in blurry text, shadows, fingers in the frame, or other imperfections. In this guide, we’ll show you how to improve PDF quality in a few taps without starting over.
Poor lighting. Lighting can make or break the quality of your scan. If the room is too dark, the light is too harsh, or you use your phone’s flash, there’s a good chance your PDF will end up with shadows and uneven colors.
Crooked pages and other imperfections. The condition of the original document also matters. Crooked or stapled pages, coffee stains, handwritten notes, and other blemishes may make your document hard to scan properly.
Dirty camera lens. Fingerprints and dust on your camera lens can make scans look blurry.
Low resolution. Scanning tools vary in the resolution they support. The recommended standard for a professional-looking scan is 300+ dpi. If your scanner doesn’t support this, the image may appear pixelated.
Improving PDF quality starts before you even tap the scan button. These tips will help you avoid some of the most common scanning issues:
That said, even if you follow these tips, things don’t always go as planned. Sometimes you have to scan on the go, and sometimes the only copy you have is an old, imperfect scan.
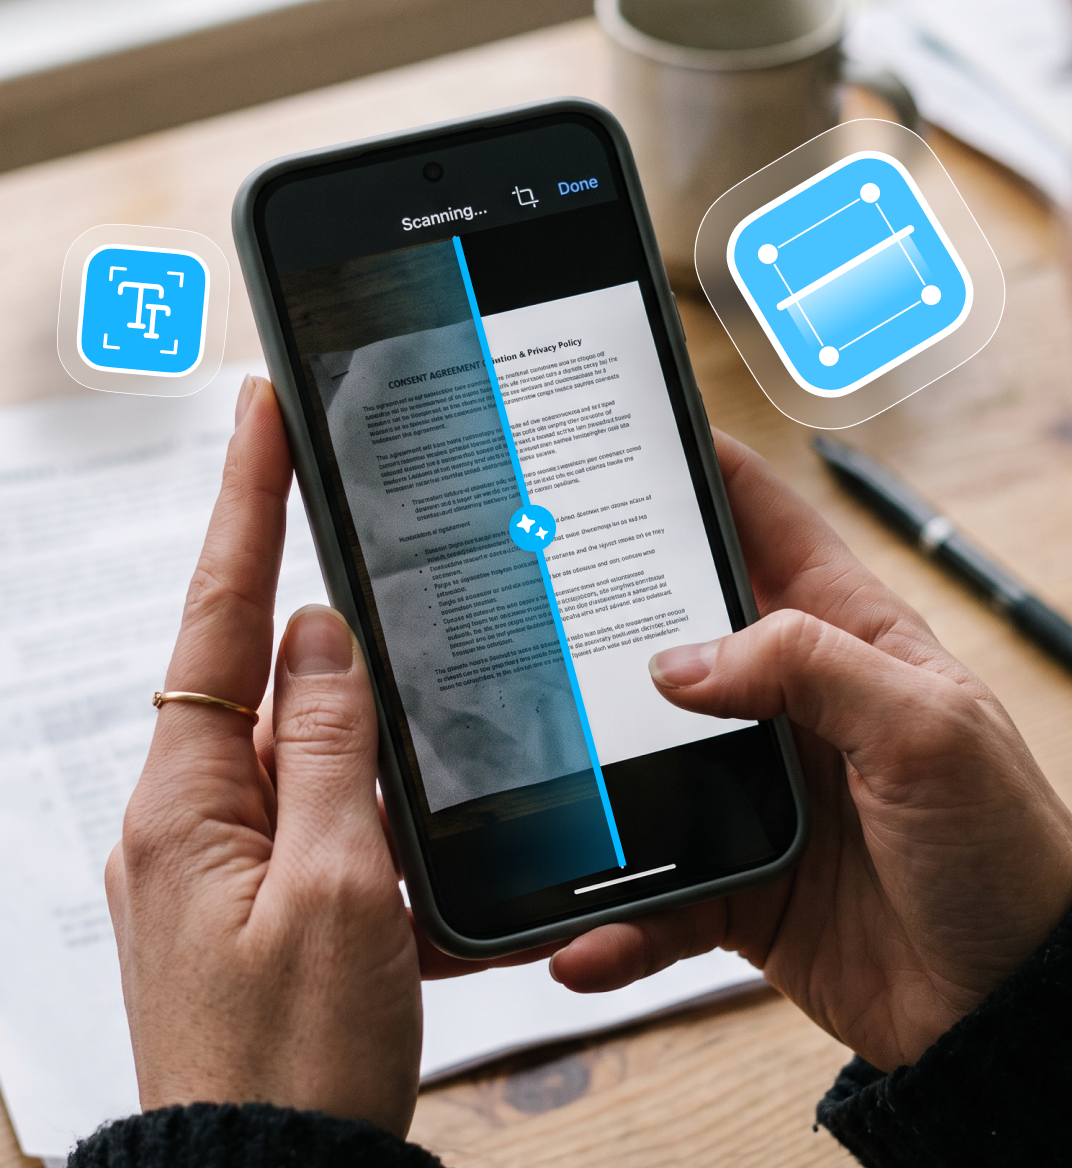
In either case, the right scanning and enhancement tools can help you get better results. With iScanner, for instance, you can create high-quality scans or improve existing ones in the same app.
iScanner allows you to scan documents at a high resolution of 300+ dpi, which helps keep the details in your PDFs clear and readable, even when printed or zoomed in.
Plus, it automatically detects your document’s borders, so you don’t have to crop each page manually afterward. And if your document has staples or paper clips, there’s no need to spend time removing them—iScanner can do that later with its enhancement tools.
To scan in high quality:
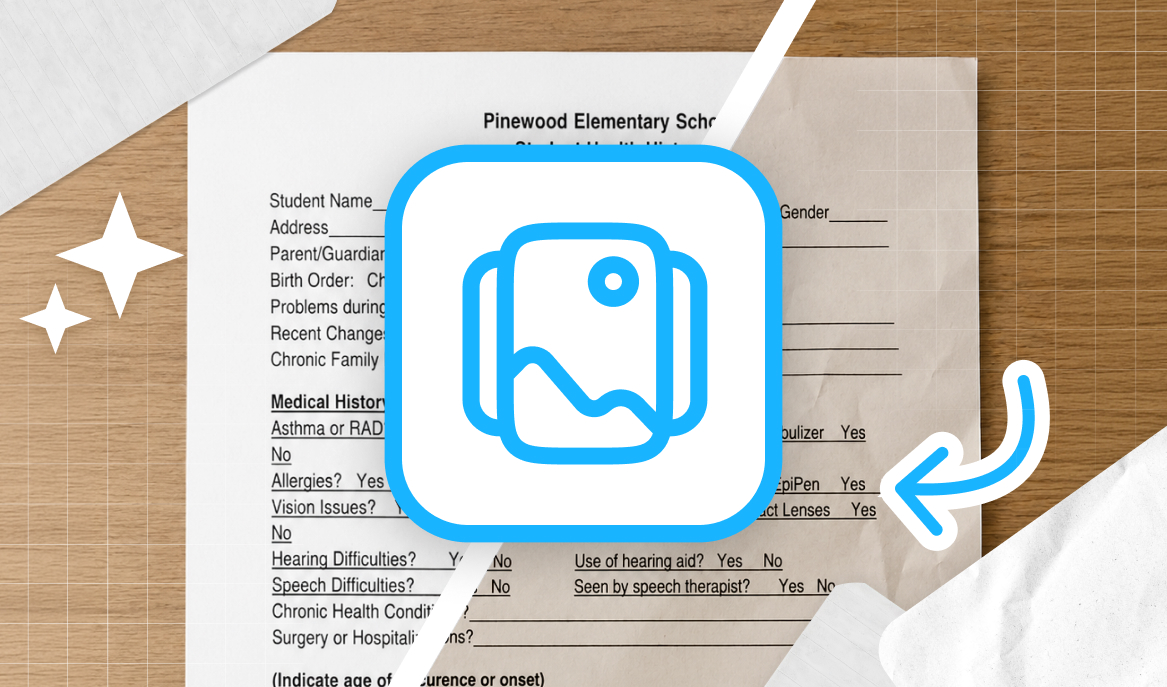
Even if you scanned a document in high resolution, it can end up with shadows, discoloration, stains, and other marks that make it look less professional.
The quickest way to remove these is to use one of iScanner’s filters, which you can find right after scanning:
For scans that need more than just a filter, you can use iScanner’s Polish tool for deeper cleanup. To use it:
Sometimes you need to scan a page from a book, a folded receipt, or a wrinkled document. In these cases, getting a perfectly flat scan is next to impossible. iScanner can automatically straighten distorted pages and restore their shape, so your PDF looks clean and sharp.
Straightening a page can also help with text recognition if you need to copy or edit the text later.
To use it:
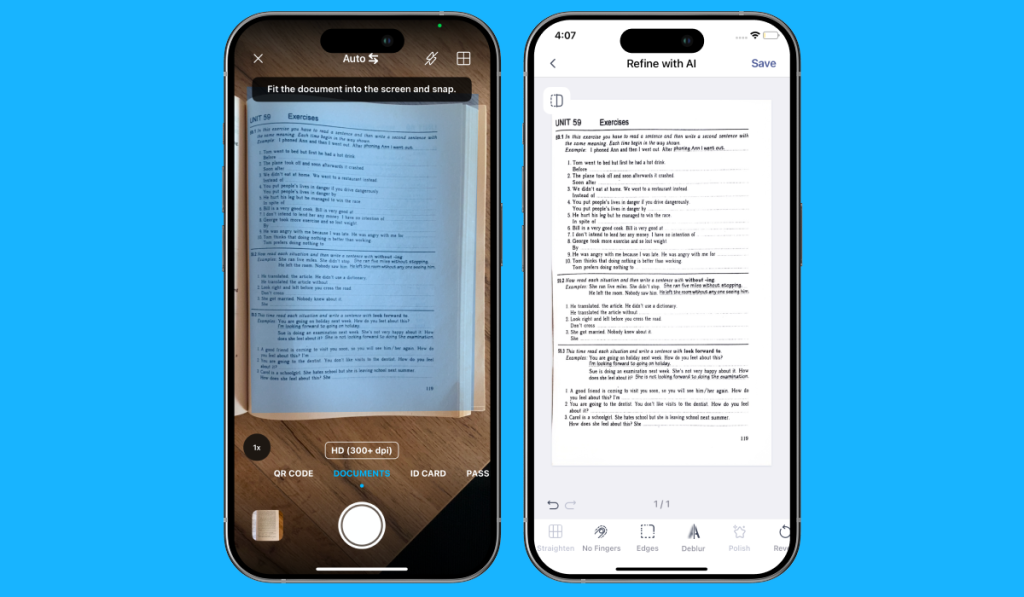
A slight hand movement during scanning can leave text looking fuzzy. Instead of starting over, iScanner can sharpen blurry documents in a few taps. It enhances the contrast between the text and the background, improving the readability of your PDF.
To use it:
If your fingers accidentally appear in the frame, don’t rush to rescan your document. iScanner automatically removes them and reconstructs the background, leaving no distracting gaps behind.
To use it:
The Edge Repair feature, trained on more than 100,000 document images, automatically detects and fixes imperfections around the edges of your documents, whether the corners are folded, stapled, cropped, or covered by another object.
To use it: