
17 aug 2022
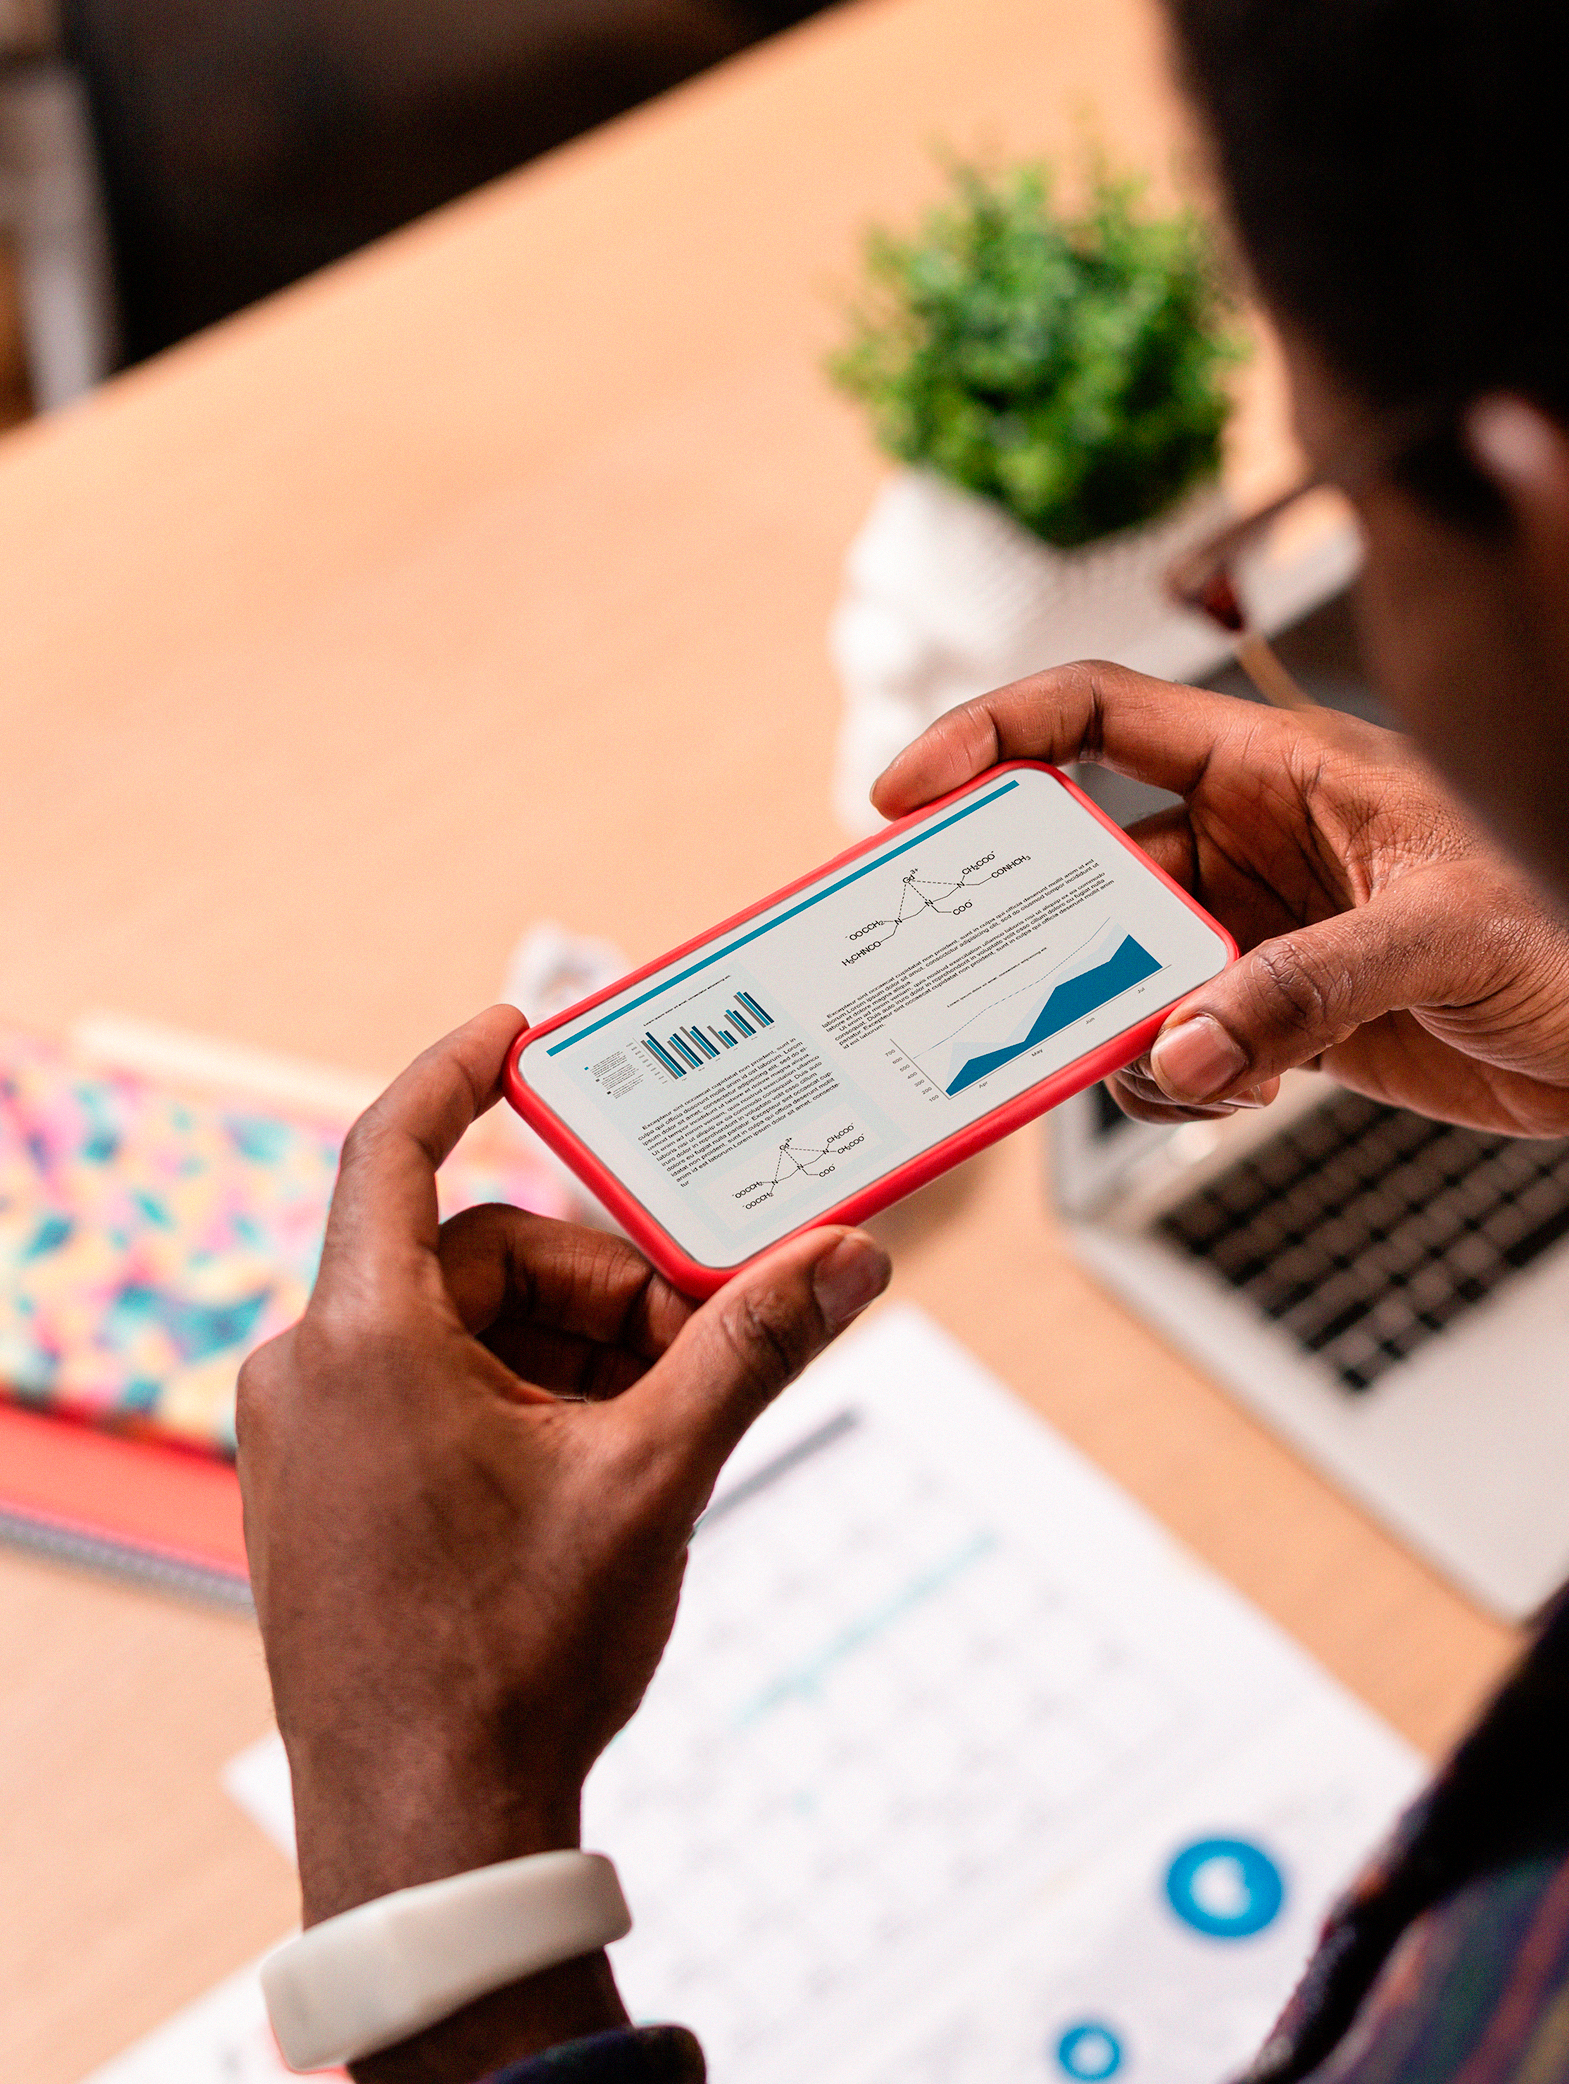
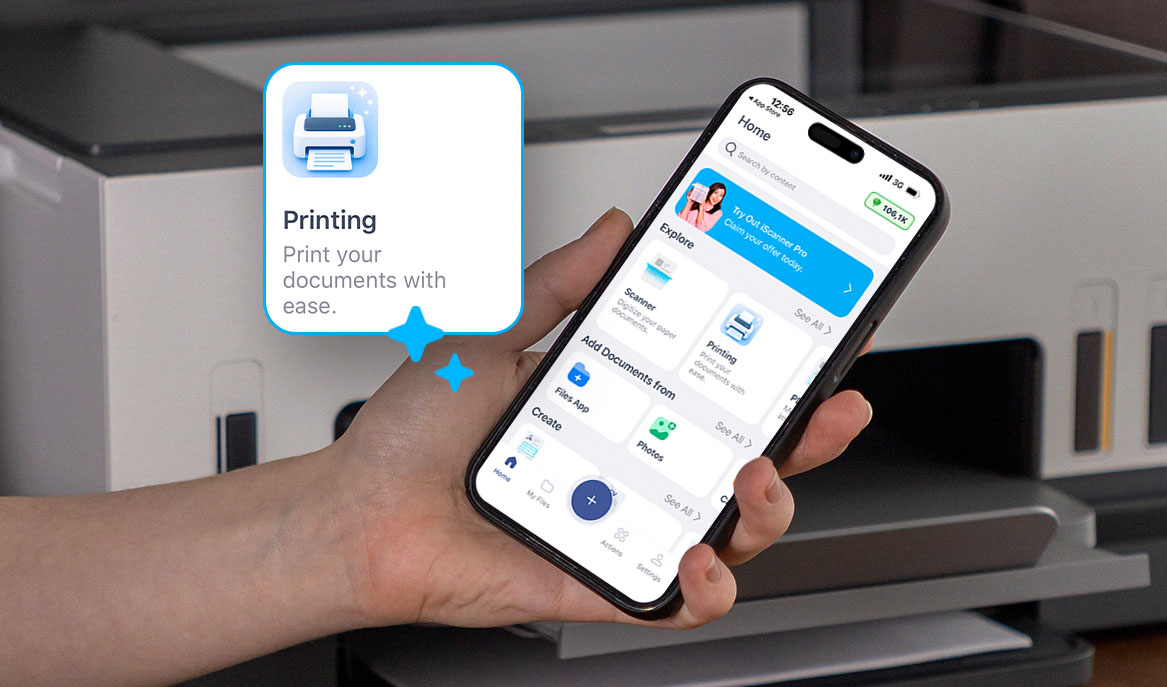
Mobile scanners are great, handy tools when you need to scan a document on the go or your office machine is out of order. Modern mobile scanning apps are quick and provide high-quality results. Unlike traditional office scanners, though, mobile scanners have far more variables that can affect the quality of the scans, like lighting, shaky hands, or smartphone camera resolution. However, there are several things you can do to get consistently excellent scans and take advantage of the mobility and convenience mobile scanners provide. Let’s see what simple steps you can take to get the best scanning results.
If you’re in a hurry and need to scan and send a document on the go, you probably won’t bother to look for the best-lit location. However, if you’ve got time and want the best possible quality, lighting is the first thing you need to look at. Here’s a short list of conditions that ensure the best scanning results:
However, if you place your document right underneath a harsh, overhead light source, the shadows can get very intense and be pretty much impossible to get rid of.
However far away you hold your phone, the app will detect the edges of your document and crop the picture. The only difference is how much it will have to crop. And that’s important because cropping doesn’t merely cut out irrelevant details. When the app crops, it will have to magnify the remaining part of the captured image, which reduces its resolution. For example, scans made with the document occupying most of the frame have nearly 30% higher resolution than those where the document was only taking three quarters of the screen. That’s why the app sometimes prompts you to hold the camera closer to the document. This extremely simple step can contribute greatly to the quality of your scans.
As we’ve already mentioned in the introduction, camera lenses can greatly affect the quality of your scans. The lenses of your smartphone camera have to be clean and in fine working order if you want to achieve best scanning results. Jeans pockets, the insides of our handbags, and storage compartments in our cars are hardly ever completely clean. Dust, sand, and grease on the lens can significantly impair the quality of your pictures and scans. Therefore, it might be a good idea to always have a microfiber cloth with you. If you notice that your pictures and scans come out blurred and unfocused, it might be time to clean the lens.
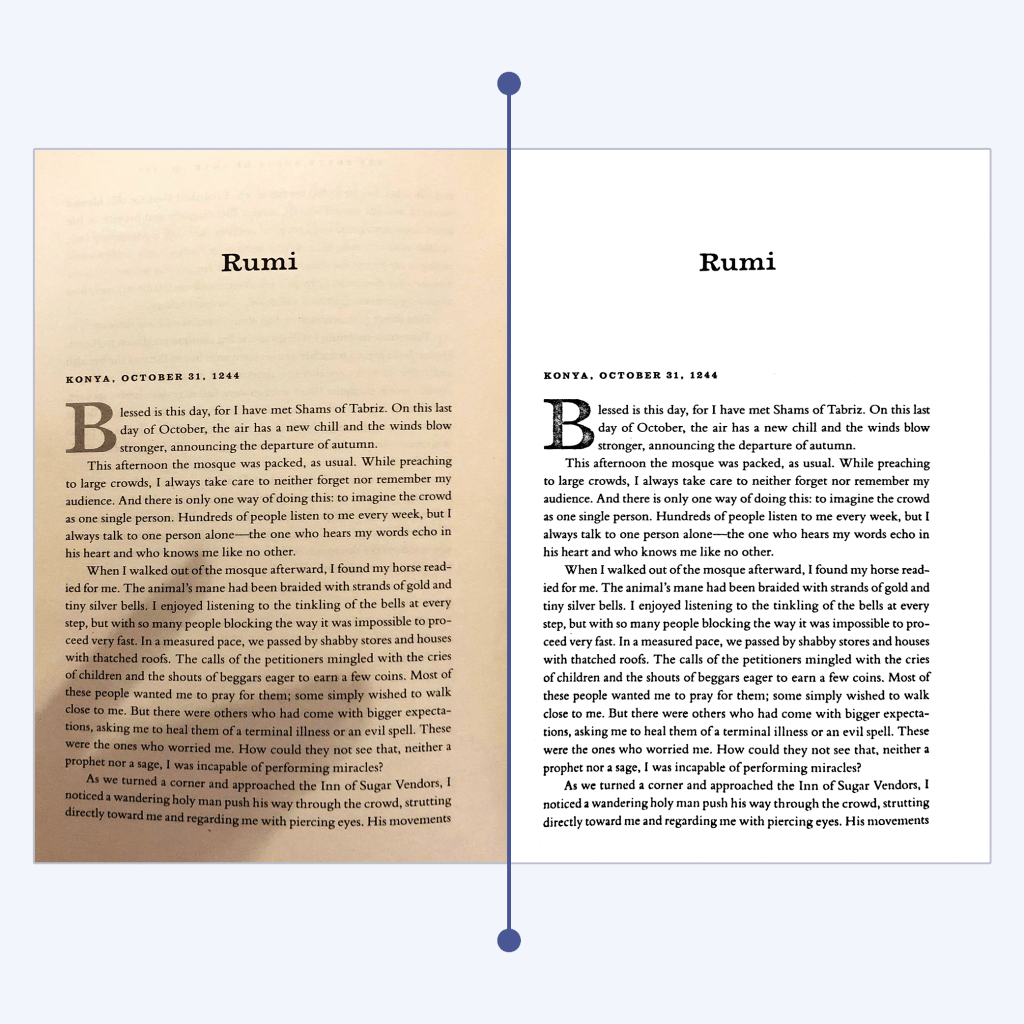
If you’re after the best possible quality, try to hold your phone directly above the document. Ideally, the camera should be positioned parallel to the paper to avoid perspective distortion. The good news is that some modern mobile scanning apps employ AI algorithms to correct distortions. For example, iScanner will make your scan look perfectly rectangular even if the shot was taken at an angle. But still, no app will be able to fix a scan taken from a 90-degree angle, so it’s best to keep it in mind.
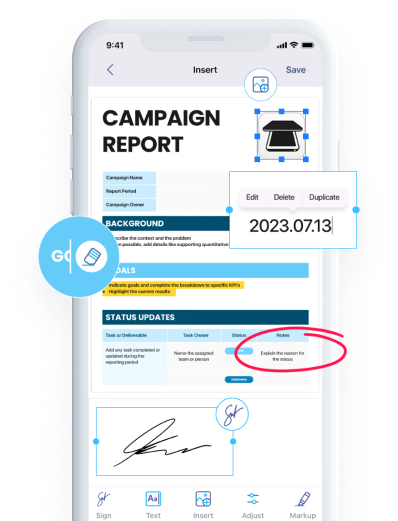
If you’re aiming for the best scanning results, be sure to check the settings in your app before scanning. The iScanner app allows you to choose from four options: Low, Medium, High, and HD. Once you’ve chosen the resolution, the app will use it for all scans by default until you change it. For the best scanning results, we recommend HD mode. To get into the menu, tap the + icon and then Camera. At the bottom of the screen, you will see several scanning modes for various purposes, such as QR Code, ID Card, Documents, Passport, etc. Tap Documents, and a small tag specifying the current quality setting will appear above the Documents button. Tap the tag, and within the next menu, choose HD. All done. If you’re interested in how AI algorithms improve the accuracy of mobile scanning, check out this blog post.