
04 jul 2023
If you scan a lot for work, you’re likely familiar with ADF sheetfed scanners. In terms of speed and level of automation, these guys are second to none. That is, until they double-feed, and you end up with a page or two missing in the middle of a fifty-page-long document. In this blog post, we want to show you a useful iScanner trick that can help fix this pesky sheetfed scanner issue without having to split, merge, or start from scratch. So, here’s how to insert a page into a PDF document quickly, without the need for rescans or additional software—all you need is your mobile phone!
You’ve scanned a fifty-page document on a sheetfed scanner quickly and effortlessly, but right before sending it over to a client, you realize that the scan is only 49 pages long. Ugh.
There is a way to insert the missing page!
First, install the iScanner app.

Next, upload the document you need to fix to iScanner. There’s no need to look for a cable or email it to yourself—simply create an iScanner account, and the app will sync your files. Alternatively, you can copy only the one you need via iScanner web (please see more details on how it works here).
Open the file in iScanner.
Next, tap the Insert Page button at the top of the screen.
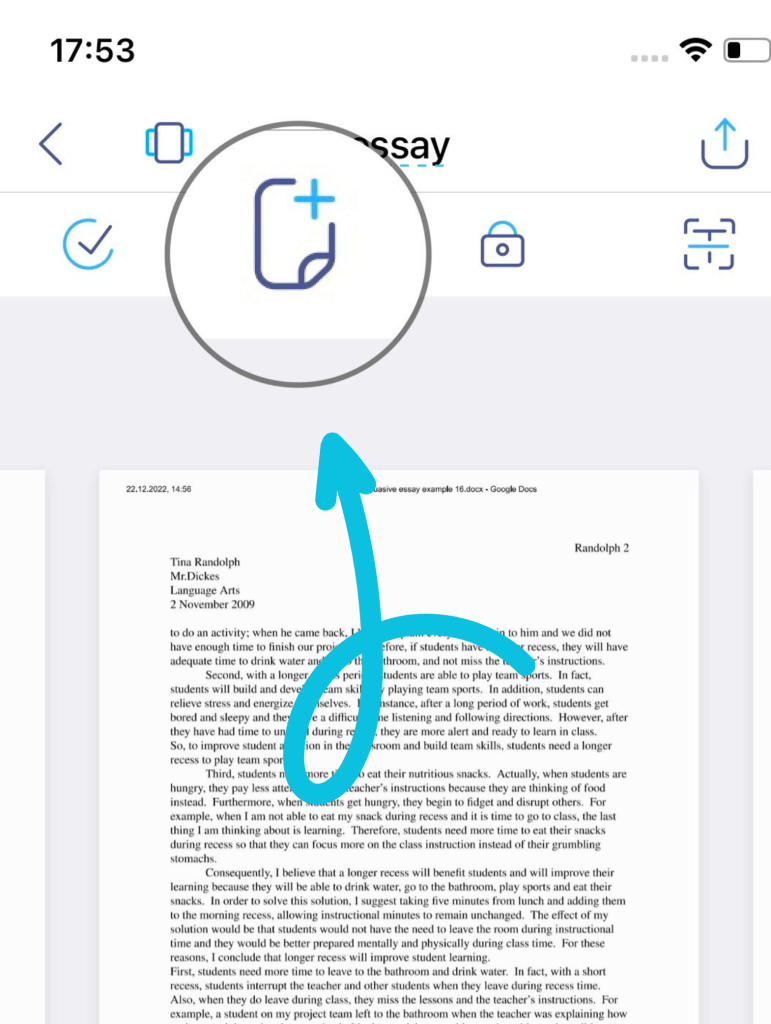
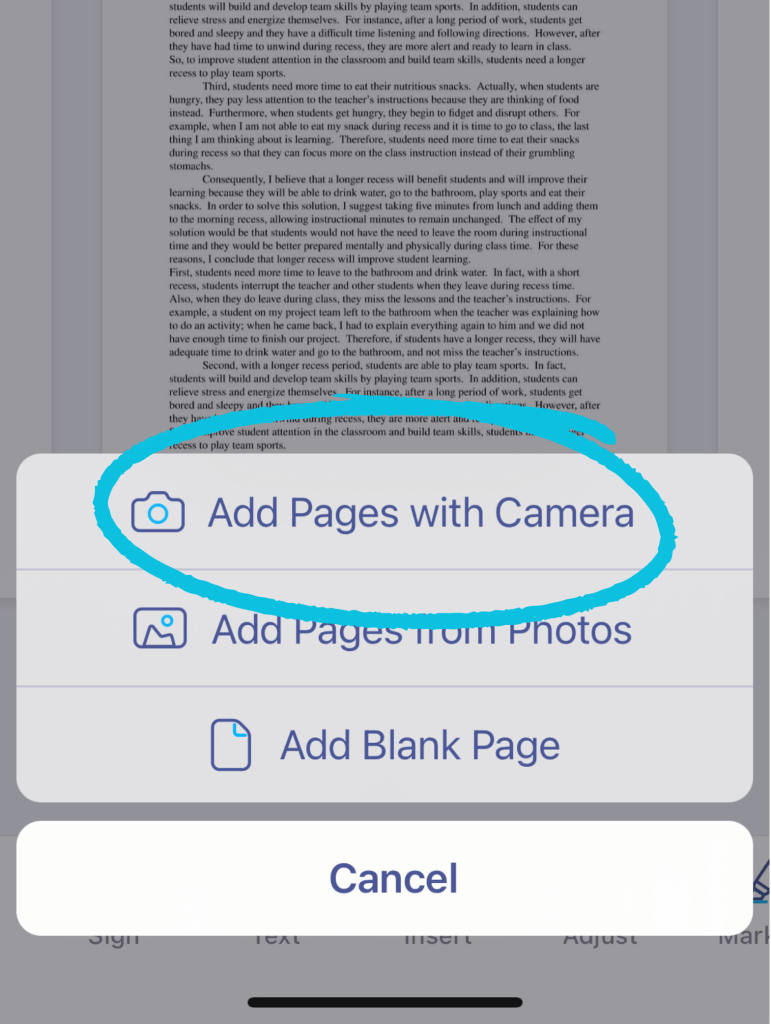
It will take you to the next menu, where you can choose how you want to insert a page. Next, choose Add Pages with Camera.
Now, it’s time to scan the missing page. Simply point your camera at the page, and the app will scan it automatically. It’s best if the document occupies as much of the frame as possible (we have a post with simple steps that can instantly improve the quality of your scans).
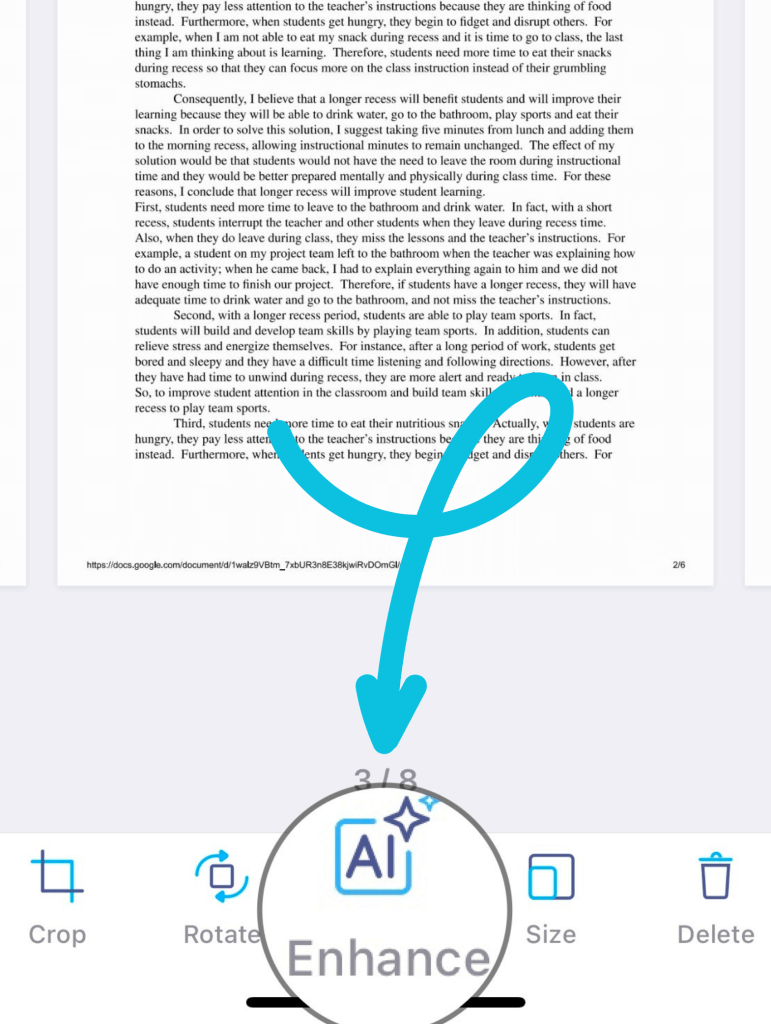
Enhance the image. After you’ve scanned the missing page, you’ll see a menu where you can change the color scheme, crop, and use the AI Enhancer, which can smooth out the page or remove accidental fingers if they got in the way. If you’re interested to see how different color filters can be useful, we have a post about them.
Once you’re happy with everything, tap Done in the top right corner. Your newly scanned page will become the last page of the document (not to worry—we’re going to place it where it belongs next).
Rearrange the pages. To do that, tap the blue circled check mark at the top left.
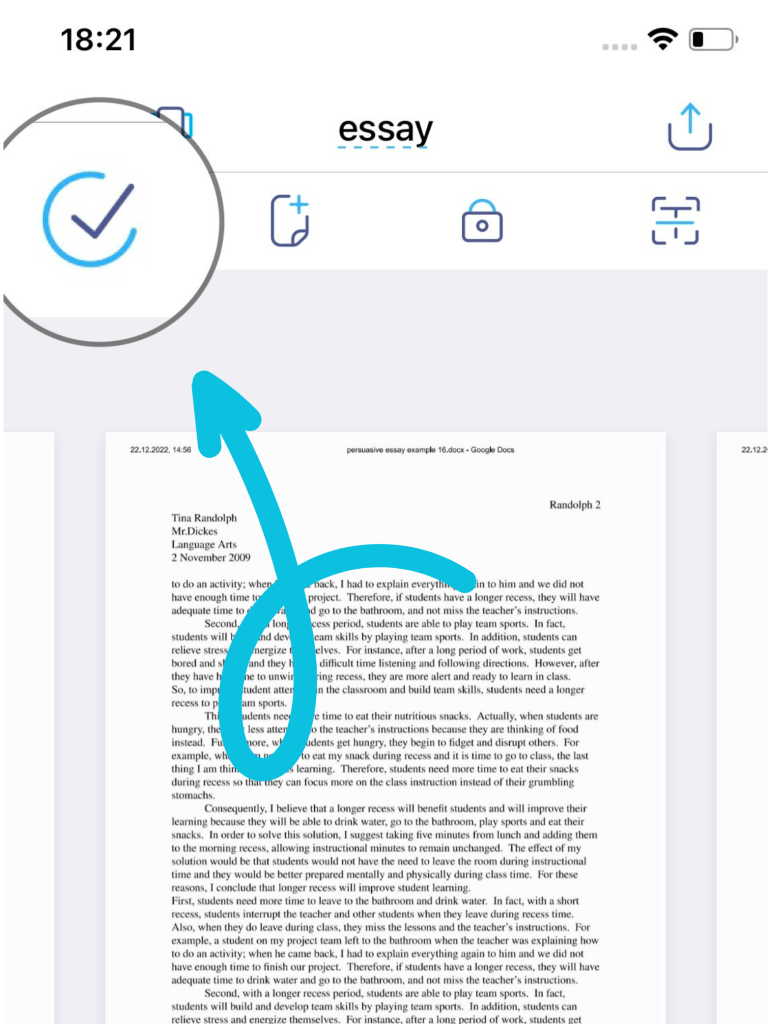
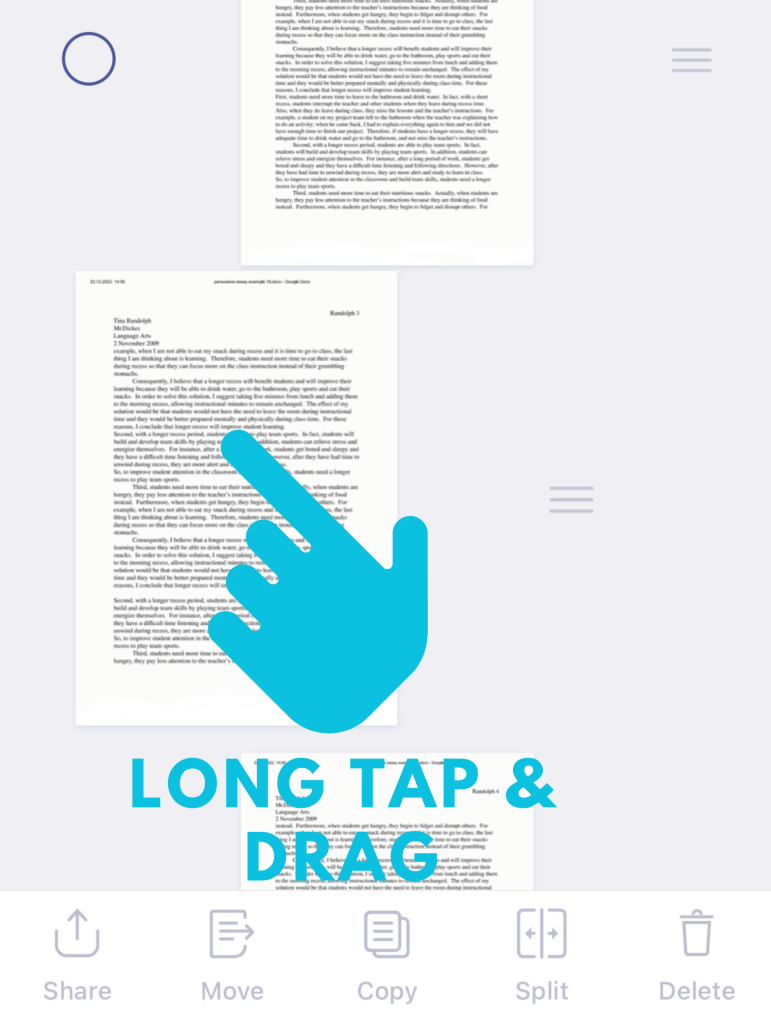
Now, drag the page to its original position in the document. If your document is lengthy, it might be easier and quicker to do this on your computer. Once you’ve placed the page where it belongs, tap Done. You can now email the document straight from the app or save it to your files.
Another possible scenario is when one or more pages in the scanned document came out blurred or crooked, or if a part of the page wasn’t scanned (which is another common problem with sheetfed scanners).
If this happens, you can easily replace it in iScanner too.
We hope you find this useful! Don’t hesitate to try this trick next time you have an issue with your sheetfed scanner machine. It can save you tons of time, effort, and frustration allowing you to focus on more important things and be more productive.
