
19 jun 2023
You’ve likely played around with HDR modes and filters on social media or photo editing apps—they’re the magic wand that turns “meh” photos into scroll-stopping shots by cropping, enhancing colors, and tweaking brightness, saturation, and more. Now, imagine having that same power, but for your documents. That’s exactly what iScanner, a PDF scanner app, brings to the table. It’s a mobile scanning app with a built-in image editor that can make your scanned documents look sharp and professional in just a few taps. In this post, we’ll show you how to turn your ordinary scans into flawless digital documents using this clever tool.
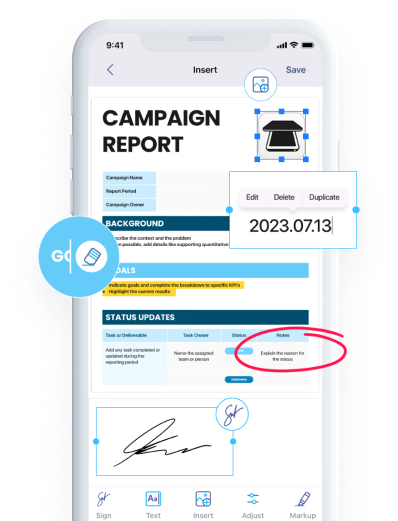
The scan image editor in iScanner is a practical and versatile toolbox that can instantly take the quality of your scans up a notch. With it, you can crop, rotate, change the color scheme, and perfectly adjust the brightness, hue, and saturation without even having to think about what these parameters are called.
Recently, the toolbox has acquired a new section for some very special new-gen tools. We named it AI Enhancer, and as you probably guessed from the name, it allows you to use our AI-powered tools: Scan Straightener and Finger Eraser. These two are AI algorithms of our own design. Scan Straightener can get rid of skews and warps on your scans and smoothen the page out if it wasn’t lying flat, and Finger Eraser can come to the rescue if you accidentally capture your fingers while scanning.
To sum it all up, with the help of our scan image editor, you can instantly and effortlessly:
The filters allow you to change the color scheme of your scans and documents in one tap. Technically, it’s a smart filter that has a set of color schemes you can apply to a selected page or all pages in a document.
Within each of the five color schemes, there is a slider control that manages a whole array of parameters like brightness, contrast, saturation, hue, and more. By moving the slider control, you can adjust several parameters at once and see the effect in real time.
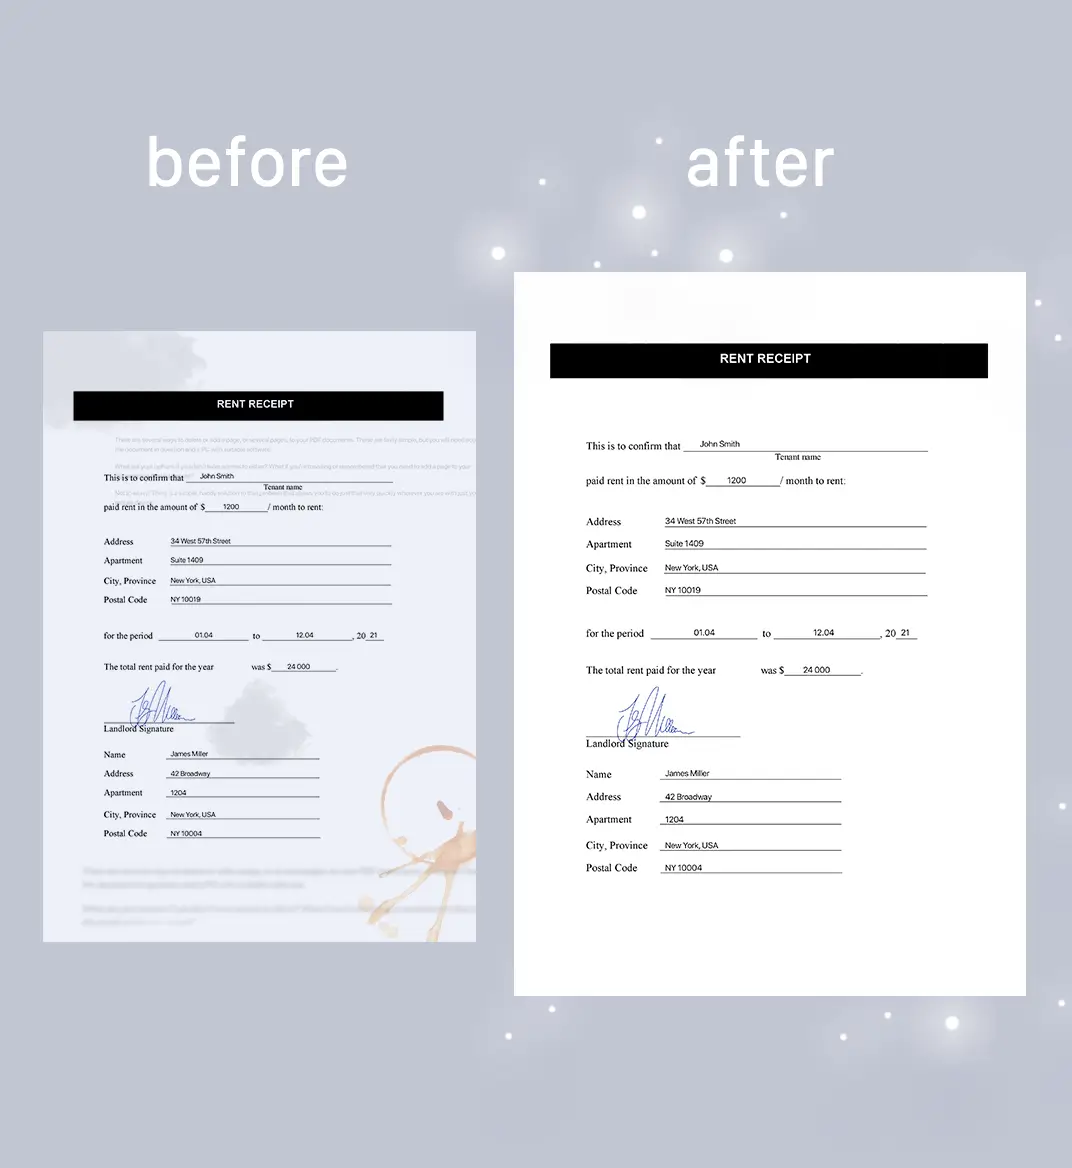
If there’s a minor smudge or stain on a note you need to share, you can quickly get rid of it by playing around with color filters and the slider control. Just scan the note and see how much tidier and more professional-looking it becomes when you simply change the color scheme to black and white.
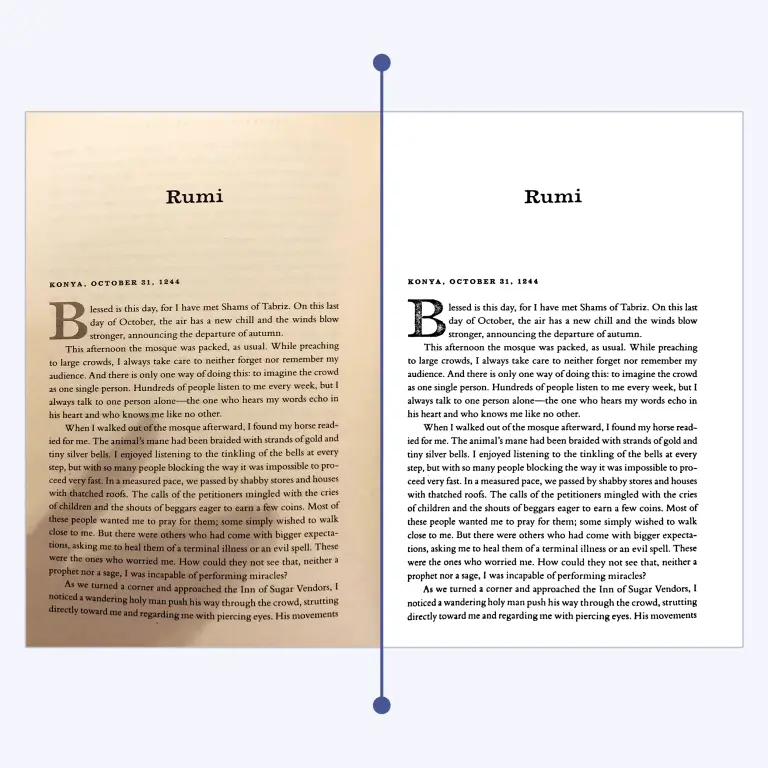
This filter can also be extremely beneficial for scans of printed materials where the ink has faded or the colors are uneven because it increases the contrast between the text and the background, making it easier to read. Moreover, the black-and-white filter can easily remove shadows from the page, which are sometimes very difficult to avoid.
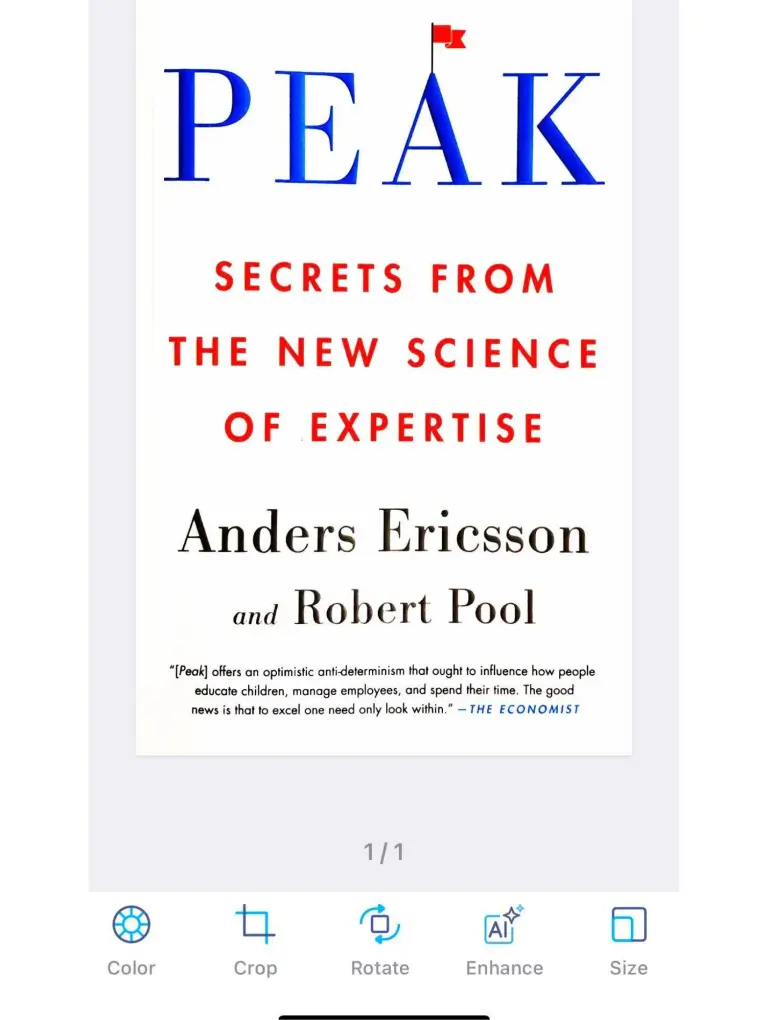
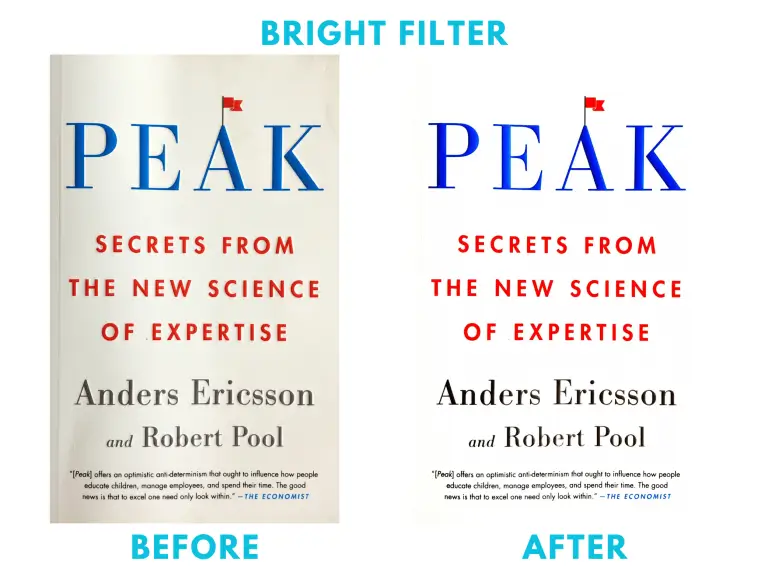
The Bright filter is the equivalent of the black-and-white for colored scans. It increases the brightness and contrast of the scanned image and can get rid of pesky shadows while preserving the original colors of the images. Another perk of the bright filter is that it can improve the legibility and the overall look of handwritten documents. If you’re a student who often needs to submit handwritten assignments, don’t hesitate to try the bright filter—it makes a world of difference!
If you have ever tried to change the color scheme of a document containing color images to black and white, you probably know that it’s not as simple as it sounds. For instance, if you print out a document containing color images with a black-and-white printer, you might not like the result. The images will be far less detailed, and people’s faces might be oddly distorted. That’s because the bright areas are going to appear too bright and the dark areas too dark in print, so that the small details of the pictured objects will be lost.
Graphic editors have several solutions to this issue, but they require a PC, and you’ll need time to learn how to do it. You’ll also need to make adjustments to all your images one by one.
With iScanner, you can fix this problem in a tap. Just upload your document to the app, change the color scheme to grayscale, and adjust the slider control until you see the perfect picture. Tap Apply to All, and the printed version of your document, including all the images, will look perfect.
Don’t hesitate to try and see for yourself how much of a difference all these tools can make!
See what else you can do in iScanner’s document editor to make your documents look professional.