
19 aug 2022
PDFs are great, right? Whichever platform or operating system you use, you can be sure that when you share a PDF, it will look exactly the same to the recipient regardless of the platform or operating system they use. Hence, PDF files have become a global standard. Consequently, being able to edit PDFs efficiently and in a timely manner is an absolute must today. There are plenty of software options that allow you to do it. But what if you don’t have access to your PC and need to fill and sign a form? In this post, we’d like to tell you how you can edit your PDF documents easily on your smartphone.
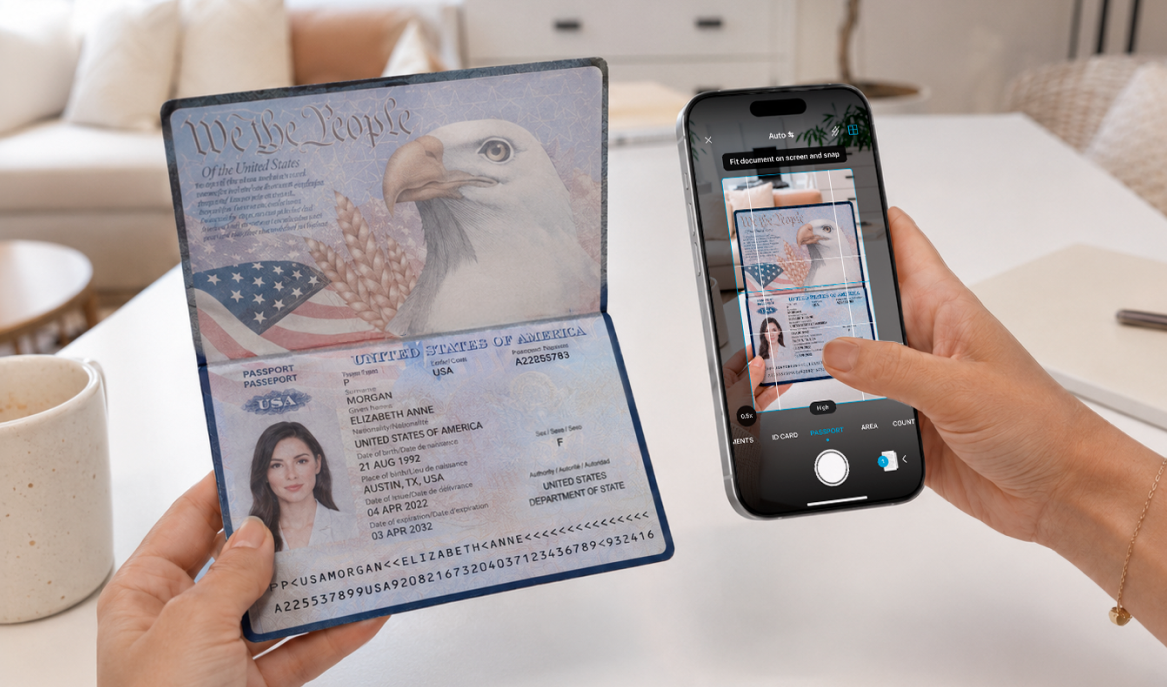
For those who might not know it, iScanner is a US-based mobile scanning app for both iOS and Android, and one of the best mobile apps in this category in 2022, according to Zapier. It allows you to make high-quality scans, edit, extract text from images, and efficiently manage your files.
Document editor is one the key features in the app. Our thinking was that if people need to scan something, they should also be able to edit the scanned file right in the app. And seeing as our audience grew remarkably up to 80 million users, this logic seems to be correct. With our document editor, you can edit documents as efficiently as you can from a fully equipped office, regardless of where you are.

Being able to sign contracts or any other documents in a timely manner can give you and your business a competitive advantage. People prefer to work with someone who’s proactive and quick on the uptake. Thus, small details can mean the difference between getting that big contract and wondering why you got rejected. Having a reliable tool you’re comfortable with and can use anytime and anywhere can be an ace up your sleeve.
In the iScanner app, you can sign documents very easily by either drawing your signature with your finger or by scanning your wet-ink signature and applying it to the document. What’s more, you can apply stamps the same way.
Need to add a photo to your CV or any other document? With the app, it’s much easier and faster than with any computer software we’ve seen so far. There’s a good chance that you’ll make it your preferable method of adding pictures to documents.
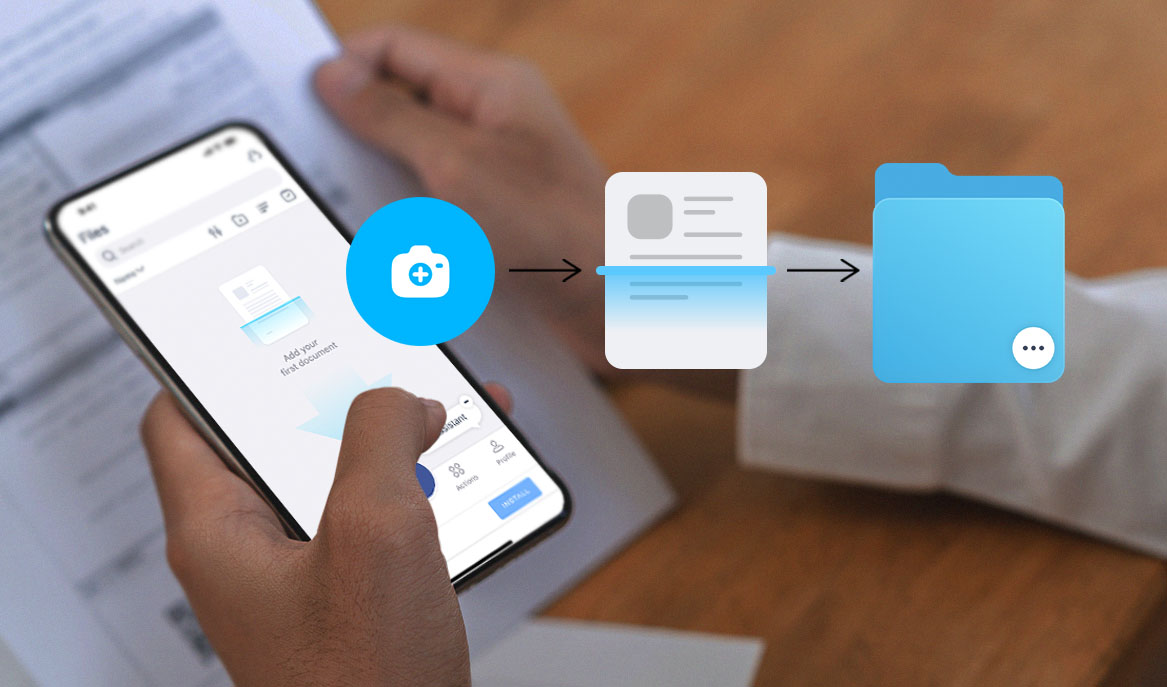
To add an image, tap Image at the bottom and choose one of the options: create a new scan or add one from your gallery.
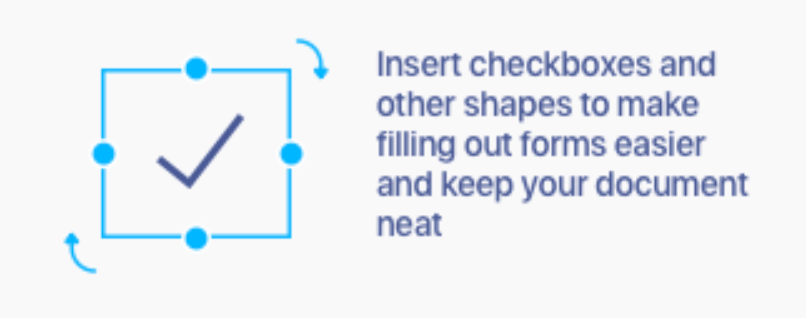
To add vector graphics (check marks, arrows, etc.), tap Shapes.
The app has great color filters that can be useful in many ways. We have a blog post about how you can put them to good use.
If you need to change the color scheme of your document, tap Adjust and then Color. Within this menu, you can choose between different color schemes: Original, Black and White, Contrast, Office, Grayscale, and more. Also, you have a slide controller at your disposal that controls several image parameters. What’s more, you can see the changes in real-time right in the app, and that can help you achieve the best results.
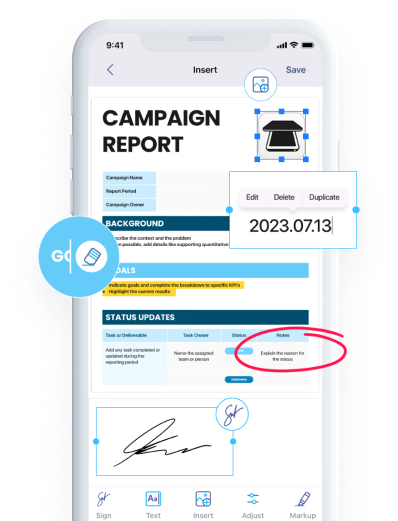
If you’ve noticed at the last minute that a diagram in your report needs more context, you can still fix this even if you don’t have your laptop with you. To add text to your document, tap the Text button in the bottom left corner. Tap anywhere on the file where you want to add text. An adjustable text box will appear. Just type your text into the box. The app allows you to choose various fonts and change the font size, color, and text alignment. You can also rotate the text box and move it around the page as you please. When finished, tap Save. The document with your comment can now be printed or emailed. Noticed a typo or decided to remove the comment? No problem! You can edit or delete the newly added text box in a tap. Just go back to the Text box menu and hit edit or delete accordingly.
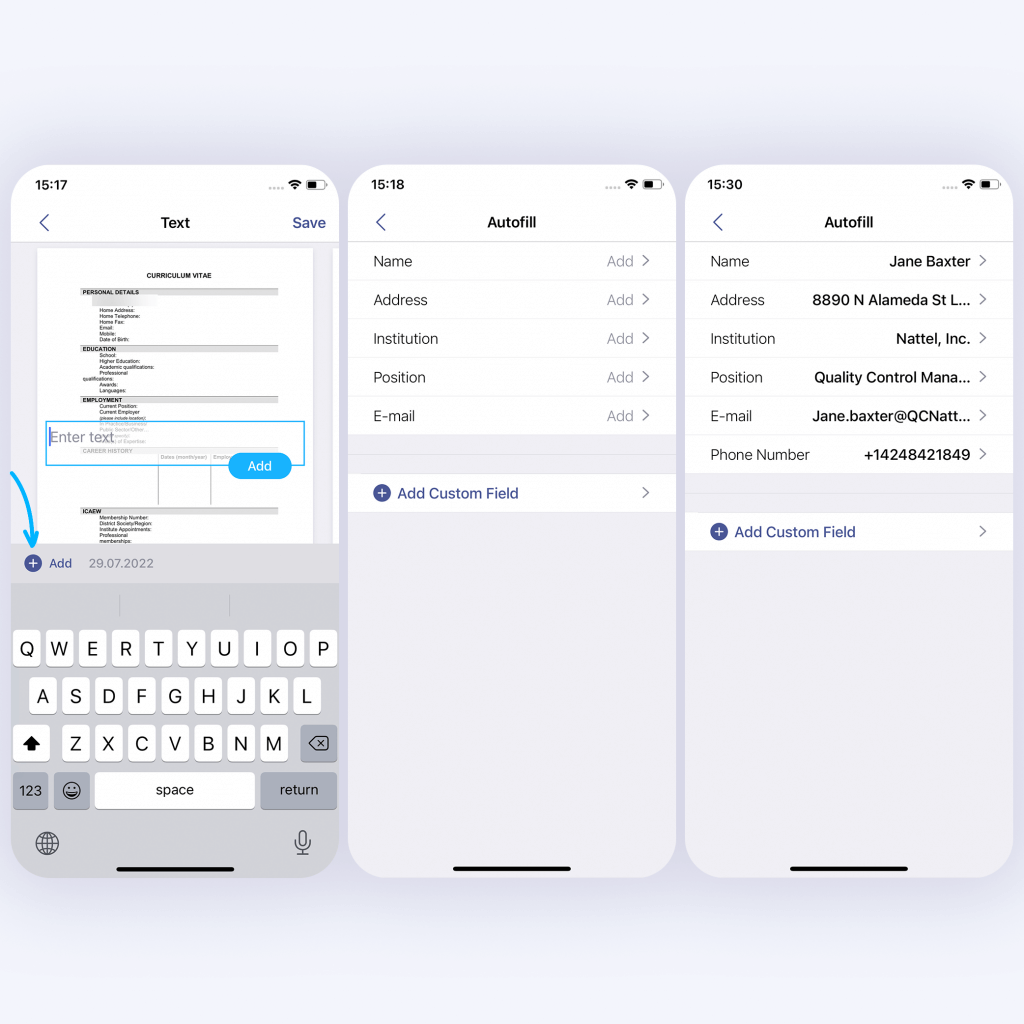
Within the Text menu, there is an autofill feature which can be a true game changer. It allows you to save frequently used information such as your name, address, company name, position, email address, etc. and then add it to documents in a tap. You can also autofill today’s date and add custom fields like a department name within your organization or your phone number.

Adding watermarks to documents or images is one the simplest ways to protect your content. We have a post about how you can put watermarks to good use. In iScanner, you can add watermarks to your files in just a few taps. Open the file in iScanner and tap Watermark at the bottom right. Within the watermark menu, you can choose from a variety of fonts and font colors and adjust spacing to get a watermark that perfectly fits your style and purpose.
Whether it’s a scan you’ve just made or an existing picture or document, you can crop and rotate easily in the app. Tap the Adjust button at the bottom and choose Crop or Rotate. Within the crop menu, you can:
Crop mode can be automatically applied to all pages. It can be handy when you need to cut out a header or a footer in a multipage document.
In the document editor, you can also choose one of the commonly used document sizes (i.e. A4, A5, Letter, Legal, or Business Card). Tap the Adjust button and then Size at the bottom right. The app allows you to see what the document is going to look like in print with the selected size, which allows you to spot any problems with the formatting and fix them.
If you remembered that you needed to add a page to your document halfway to a meeting, there’s no need to rush back to the office. You can do it easily on your mobile phone. Upload your document to iScanner and hit Add Page. The app allows you to choose one of the three options: add a scan, upload from your mobile device, or add a blank page. You can add text to the newly added page just as easily as described in the previous section. For more details on how to do it, you can visit this blog post. To delete a page, open the document in question and tap Edit. Next, locate the page you want to delete and tap Delete at the bottom right. All done!
If your document is four pages or longer, it’s standard practice to add page numbers. Page numbering will make it easier for your readers to track their progress as they look through your document. On top of that, it simplifies navigation and referencing. For example, if you are referring to something mentioned in one of the previous sections, it will be much easier to find if you specify the page number rather than the name or number of the section. Making things easier for your reader is not just polite but also a crucial part of how successful your document will be with the purpose it serves.
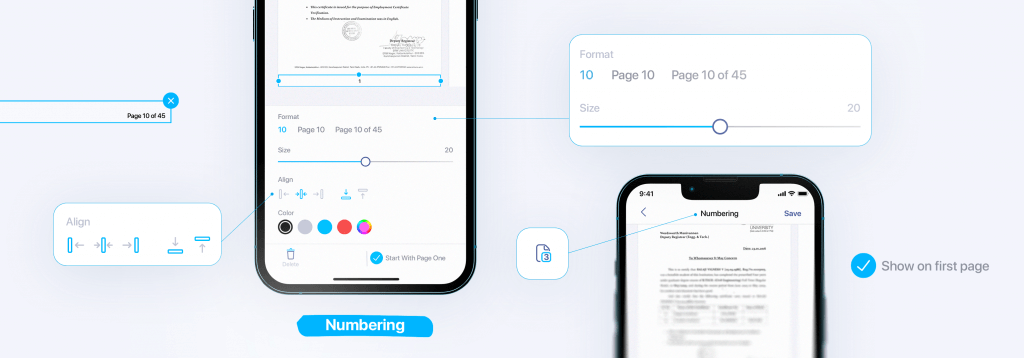
To add page numbers, open the document in iScanner and tap Numbering at the bottom right. You can choose between three page numbering formats and positions on the page. It’s also possible to start numbering from the second page—just untick the Start With Page One checkbox.
Within the same menu, you can add footers to all pages by tapping the Footer button. The app allows you to use various fonts, font sizes, and colors. Footers can be useful to specify the current version of the document or the name of the paper. For more details on footers and page numbering, visit this blog post.
You can highlight text very easily in iScanner, which can be helpful in document reviews or when marking a student’s assignment. Use it to show people where to look if you spotted a problem, mistake, or typo. Highlighting is much more efficient than writing a comment. To highlight text, open the document in iScanner and tap Markup at the bottom. You can choose from a variety of colors and adjust the thickness and opacity of the liner. There’s also a handy eraser tool within the same menu.
Sharing documents containing any personal information is always risky, so it’s prudent to obscure as much sensitive data as possible on any documents you share with people or post to public locations. iScanner has a super handy tool for that.
Open the document in question in the app and tap Hide. You can blur parts of the document or obscure them completely like they aren’t even there. And again, there’s an eraser to correct your strokes if you get a bit carried away.
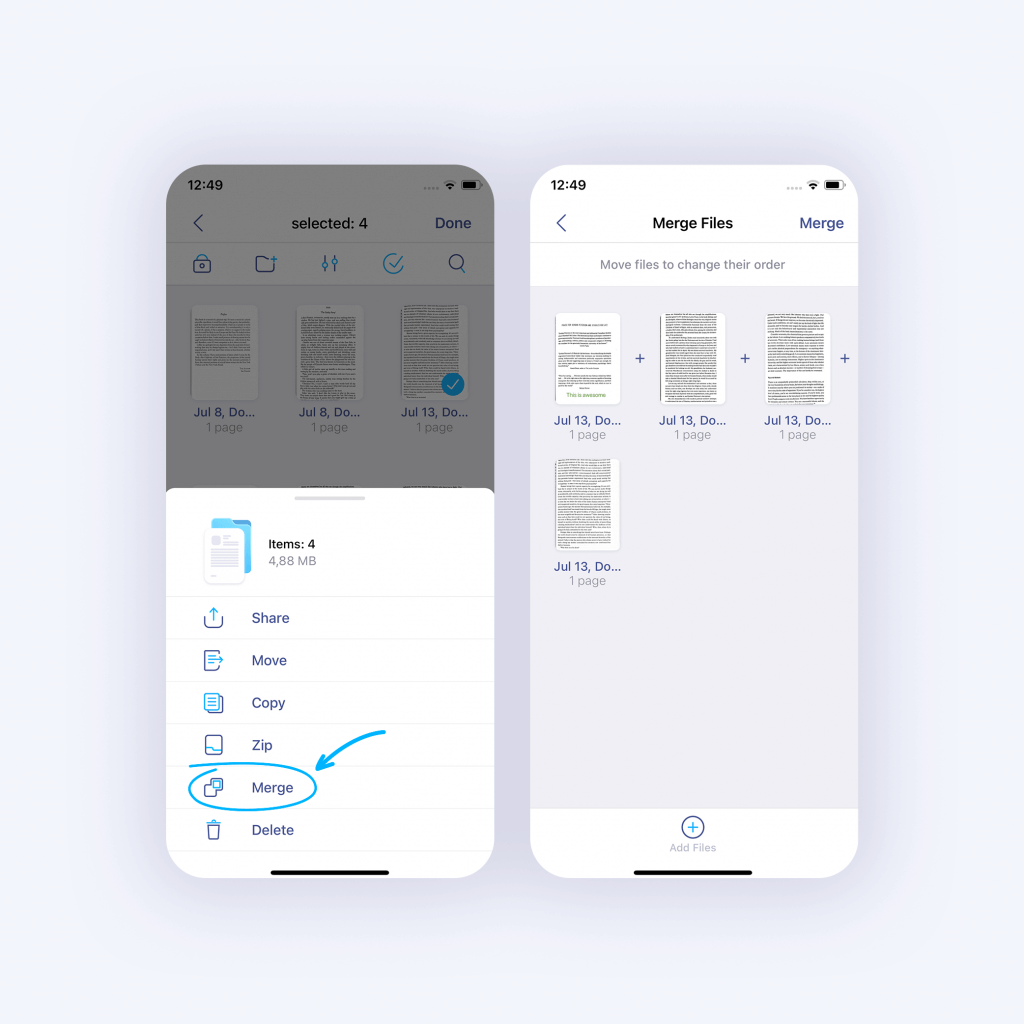
Need to combine several PDFs into one document? It’s never been easier. Upload your files to iScanner and tap the check-box icon (also known as the select button) at the top right of the My Files section. Next, tap the files you want to merge, then tap the More button at the bottom center (three dots). Within the next menu, select Merge. The app will show you all the selected files so that you can ensure nothing is missing. Once you’re happy with the selection, hit Merge. You can choose whether to keep or remove the original documents. All done!
You can also split files into any number of separate files. To split a PDF, open it in iScanner and tap the check-box icon at the top right. Select the pages you want to extract and then tap Split at the bottom left. Next, the app will show you the ticked pages to double-check. Hit Extract at the top right corner and choose whether you want to save the selected pages as a single file or separately. Check out our post about the Split & Merge feature for more information.
Don’t hesitate to try the PDF editor in iScanner—it’s free and works on both iOS and Android! Install the app and easily manage paperwork on the go.