18 dec 2025
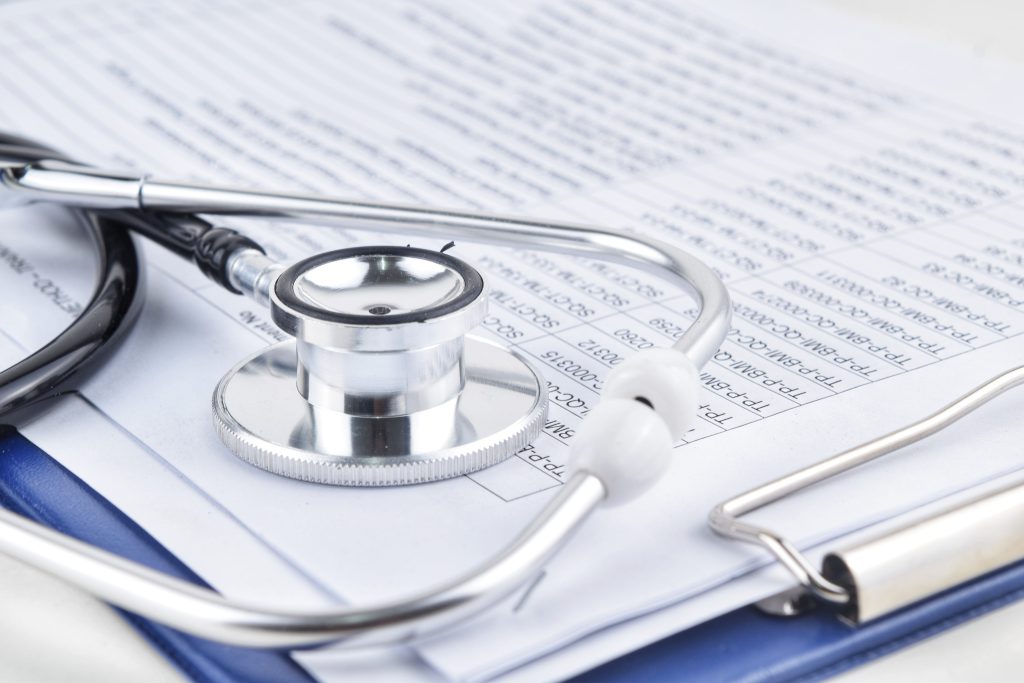
Keeping track of your medical records may not be exciting, but it can play a huge role in managing your health. Having the right information always at hand—whether you’re traveling, moving, or caring for loved ones—helps you stay prepared, save time and stress, and, most importantly, quickly figure out what to do in case of an emergency.
In the US, you can’t simply log into a website or app and see all of your medical records at once. That’s because there’s no single system that has everything in one place. Your medical information is kept by different healthcare providers, like an individual practitioner or a medical institution. It means that visiting a dentist at one clinic and a therapist at another involves two separate providers, which means your records are stored in two different places.
While many healthcare providers now use digital systems such as MyChart or Cerner, which sometimes allow you to access records from multiple providers on the same platform, this is not always guaranteed. The most reliable way to make sure you have all your information is to actively keep track of your own medical records.
Having them at your fingertips can help you feel calm and prepared if something changes or an emergency comes up. Here are just a few situations where having these records can really matter:
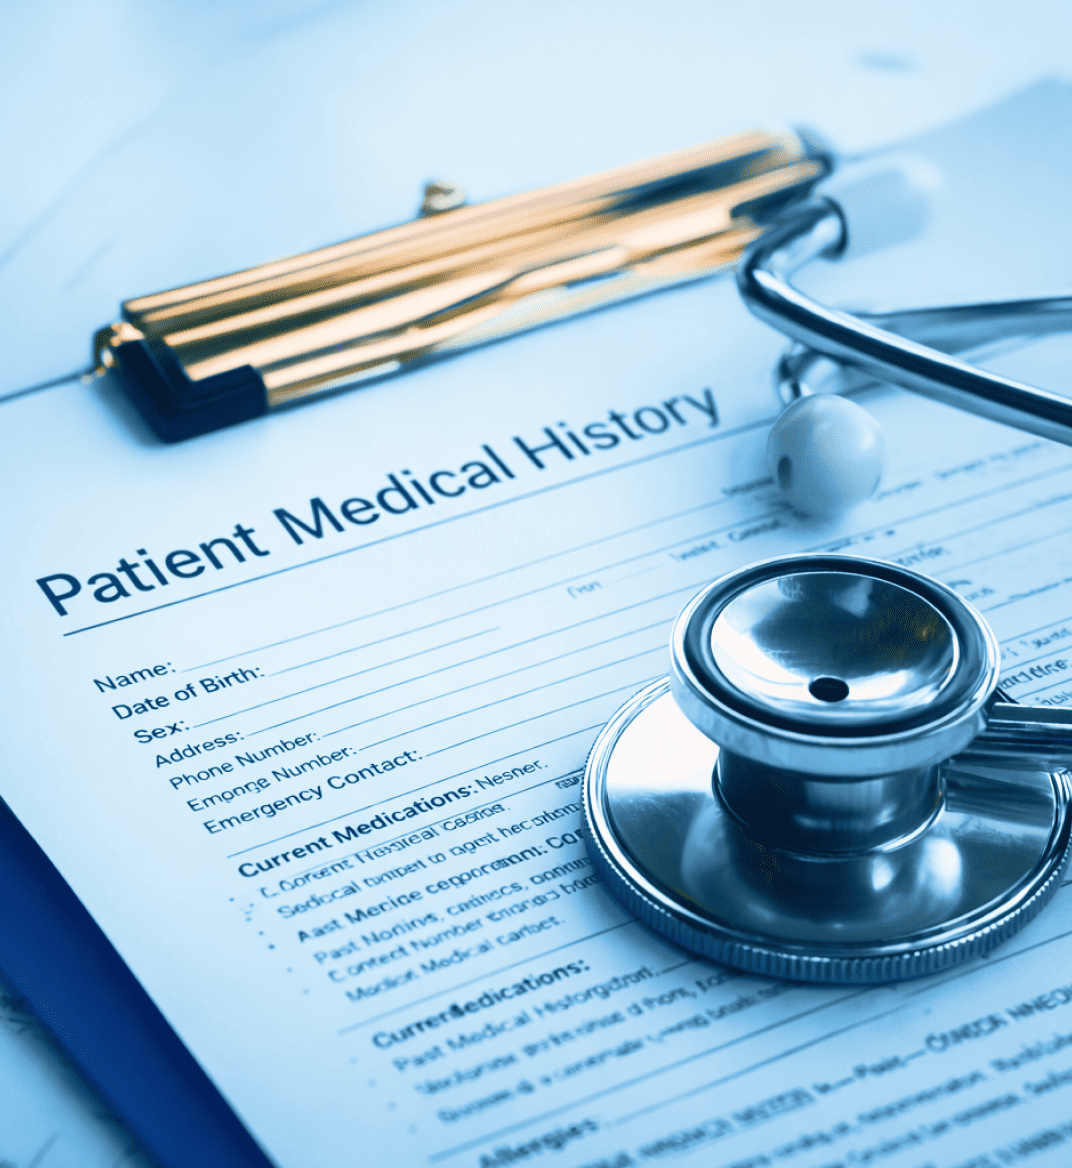
Medical documents include anything that contains your personal health information collected by your healthcare provider. This can be:
Even if you haven’t kept your medical records, there’s no need to worry. Under the Health Insurance Portability and Accountability Act (HIPAA), you have the right to access and get copies of your records.
To make sure your records are accurate, complete, and used in a way that truly supports your health, check out this guide created by the U.S. Department of Health and Human Services. It walks you through the whole process step-by-step.
Obviously, the first step is to collect all of your records. Start with what you already have at home, like doctor’s notes, prescriptions, or hospital papers you’ve saved over the years. Then request the records you’re missing from your healthcare providers to bring everything together in one complete pile.
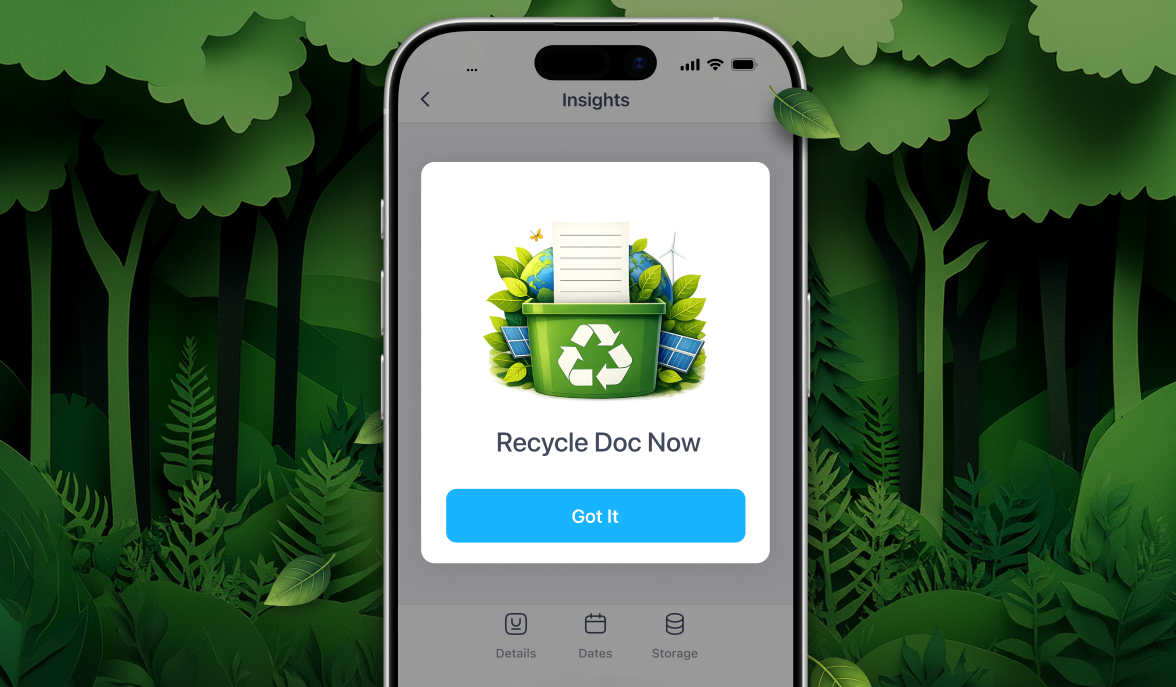
It’s up to you to decide whether or not you want to keep your medical records in paper form or electronically, but digitizing them certainly won’t hurt. In fact, it can make things easier. When they’re digitized, you can organize them more clearly, search for what you need quickly, and ensure they’re always on hand wherever you go.
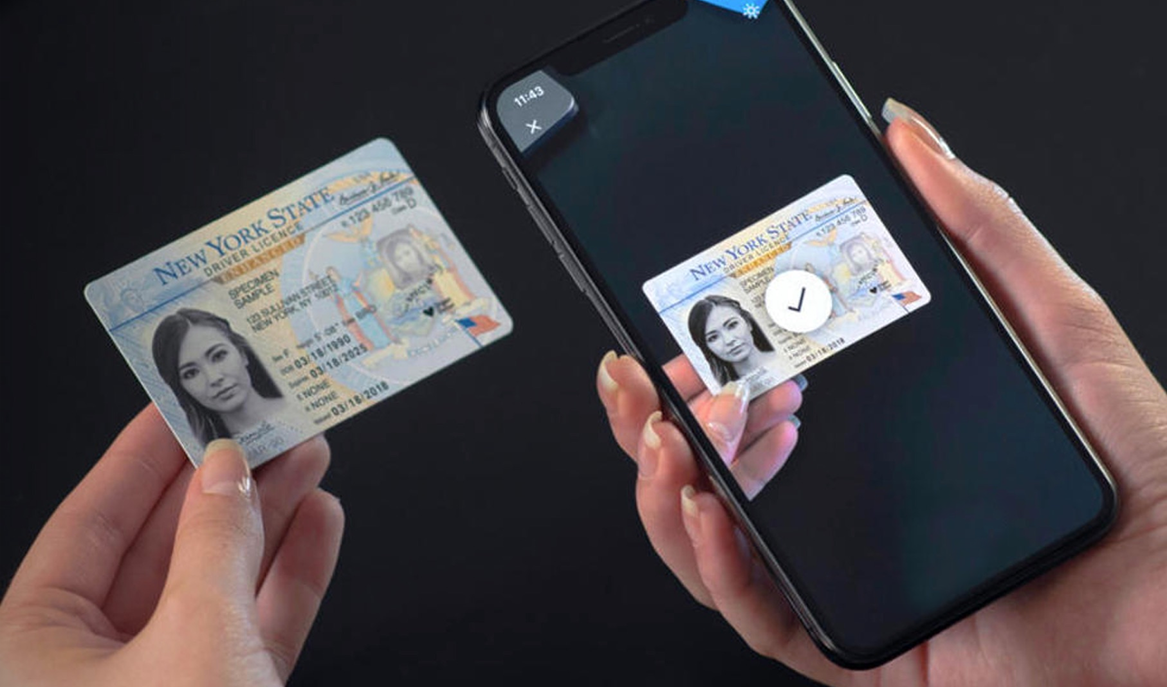
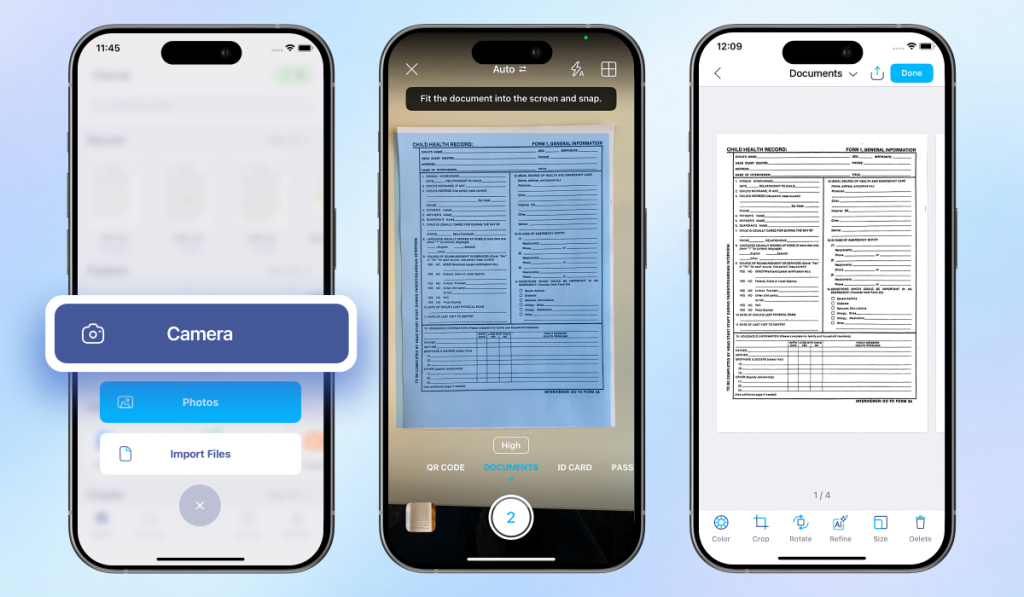
One convenient way to digitize and organize your medical records is with the help of the iScanner app. Generally, it’s a full document management platform that allows you to scan, edit, and organize the documents the way you want. The app supports automatic border detection and a batch scanning function, so even if you need to digitize hundreds of papers, it can be done in just a few minutes.
Here’s how it works:
Now, we get to the most creative part. The way you sort your files is completely up to you, because the system should be convenient for you personally. But if you prefer a standard approach, you can sort your records by date or by type.
Sorting your records in chronological order lets you follow your medical history over time. This method makes it easy to see the progression of treatments, track changes and test results, and even spot patterns.
You can also organize records by type, such as lab results, prescriptions, doctor’s notes, billing statements, insurance documents, and so on. This can make it easier to find a specific kind of document, especially if you reference similar items often.
Some people even combine both methods by sorting records by type first and then arranging each type chronologically. The key is to create a system that feels intuitive, so you can access any record when you need it.
Pro tip: If you scan papers of different types or with different dates with iScanner as a single file, you can split them in just a few clicks. Simply open the file, tap Settings (the three dots in the upper right corner), and select Split.
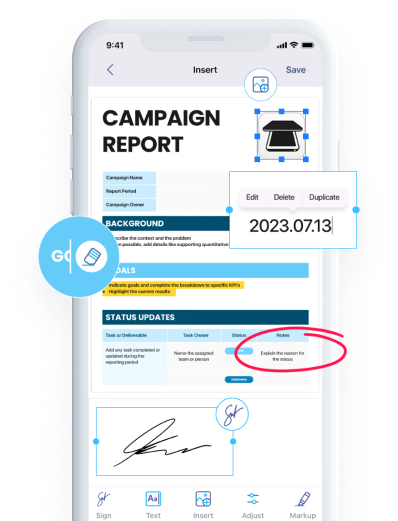
This step is optional. However, sometimes it’s helpful to highlight certain information on your records so you can quickly return to it. This could include a diagnosis, critical events, treatments, and similar details.
To do that with iScanner,

Medical records contain personal details, health history, test results, and other private information, so it’s important to keep them somewhere safe.
In iScanner, you can lock a single file or an entire folder using Face ID or a PIN code. If you need an extra layer of security, the Decoy Folder feature lets you create a hidden folder inside the app. It can only be opened with a separate decoy password, which is different from your main one.
When it comes to sharing your files, you can do so through a password-protected link that also comes with an expiration date for added security. Folders are also shareable and come with password protection.
To sum it up, organizing your medical documents makes managing your health much easier and less stressful. When everything is stored accurately and easily found, you can quickly access past test results, treatment plans, prescriptions, and important notes without digging through piles of paper or searching multiple portals.
All that can help you: