
18 oct 2024
Your class is preparing for a thrilling field trip, but instead of anticipating the coming adventure, you’re drowning in paperwork. Permission slips, while vital for any extracurricular activity, can become a burden for teachers, potentially contributing to burnout alongside other administrative tasks. Still, there’s a way to make this process simpler and more efficient. In this article, we’ll explore the power of digital permission slip templates. They are created to make the process a breeze and help educators and parents focus on what truly matters—creating useful and unforgettable experiences for students.
Today’s parent-teacher communication is complicated by an unlimited amount of papers. Endless questionnaires and assessments, guides and guidelines, letters, and dozens of other documents should be sent to parents, filled in, and sent back nearly every day. Papers are often lost, scrunched up, spilled over with tea, and forgotten, not to mention the ecological impact.
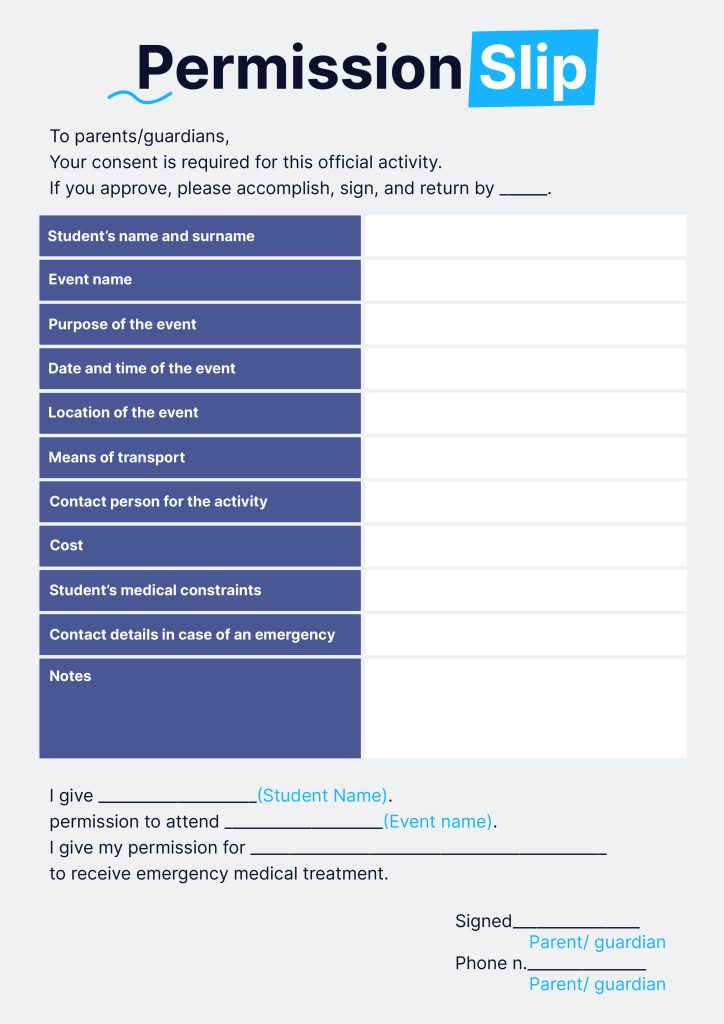
Permission slips, which allow children to explore the world outside their classroom, are no exception. Each field trip, sports event, or any other extracurricular activity may imply risks, so schools should obtain consent. By signing the form, parents allow their children to participate in an event.

The problem with permission slips is the same as with any other paper document. Some field trips get canceled just because a teacher failed to send over the forms in advance or a parent forgot to put their signature on them.
Electronic permission slips act just like paper ones. They authorize children to take part in school activities, making the process easier for everybody. A teacher needs to send permission slips via email or a class group chat so that parents can fill in the forms on their laptop or smartphone, e-sign, and send them back. No tracking down paper documents necessary and no waste to worry about.
Some educational institutions provide their electronic permission slip templates. The New York Department of Education has two different forms for pupils: one for school-sponsored events and one for activities organized by outside organizations.
Dozens of templates are available on the web. You can find permission slips for field trips, scout camps, extracurricular activities, and more. Some of them, however, are only available via paid subscription.
Several PDF editors and mobile apps also provide digital forms. But there’s no need to check all of them, trying to find the best solution. iScanner has already created a free template for you. Download and make the best of it right away.

You can fill in and edit digital forms in PDF with the help of any online editor. Still, it’s not the most convenient option. Its functionality is often limited. Moreover, you can’t do it without a laptop or computer with access to the Internet.
If you’re on the go, iScanner may be just the thing you need. Follow these simple steps on your smartphone and create the permission slip template that suits your needs free of charge.
After you download the permission slip template sent to you via email, chat, or private message, import it into iScanner. Just tap the Plus button at the bottom of the screen and choose the Import file option. If the permission slip isn’t in PDF, the app will allow you to convert it. Please accept.
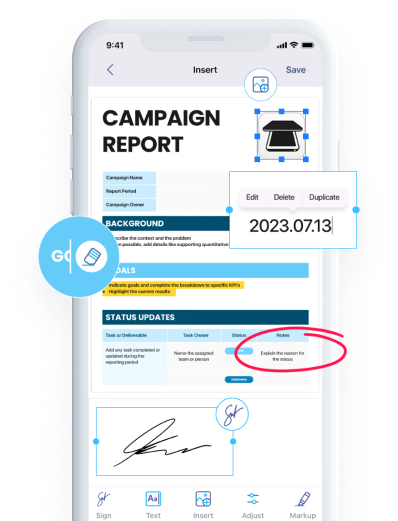
As soon as the document becomes a PDF file, tap Edit in the top right corner of the screen (if you imported a PDF file straight away, skip this and proceed to the next sentence). You can hit the Edit PDF option in the bottom right corner, after which you can edit and format the text as it is supposed to be.
Yet another option is to apply the Text button at the bottom of the screen. After you hit it, the app will ask you to tap the screen to add the text. You can move the text box to any place in the doc and rotate it 360 degrees.
If the permission slip requires your child’s picture, just tap the Image button at the bottom of the screen, choose a photo, and tap the screen to place the image.
Now that the permission slip is filled in, you can e-sign it with the help of iScanner in the most convenient way. Just tap the Sign button in the bottom left corner and choose the most applicable option.
a) The AI Recognize button. The AI algorithm will extract your signature from any document. You can take a picture of it from any signed document or upload it straight into the app.
b) The Draw button. Just write your signature with the help of your finger. The color and width are customizable.
c) The Type button. This option allows you to type in your name and surname so it looks like a real signature. You can choose the style of writing, as well as the color and width.
d) The Camera button. Just put the signature into the borders that the app suggests and take a picture.
e) The Photos button. Choose a picture of a signed document or any other paper with your signature on it and crop it.

As soon as your signature is in the app, you’ll find it at the bottom of the screen. Just move it to the document and choose the place, size, and rotation. Tap the Upload button in the top-right corner and send it to the teacher via email, messenger, or chat.
You may still use the electronic permission slip option even if the teacher has sent a paper copy. The order of activities in iScanner is just the same, with only one exception. Instead of importing a file from your smartphone, just take a picture of the document (tap the Plus button and choose the Camera option). Our in-house OCR (Optical Character Recognition) solution, developed from scratch and available in iScanner Pro, will recognize the text and convert it into an editable PDF file.
