
09 nov 2023
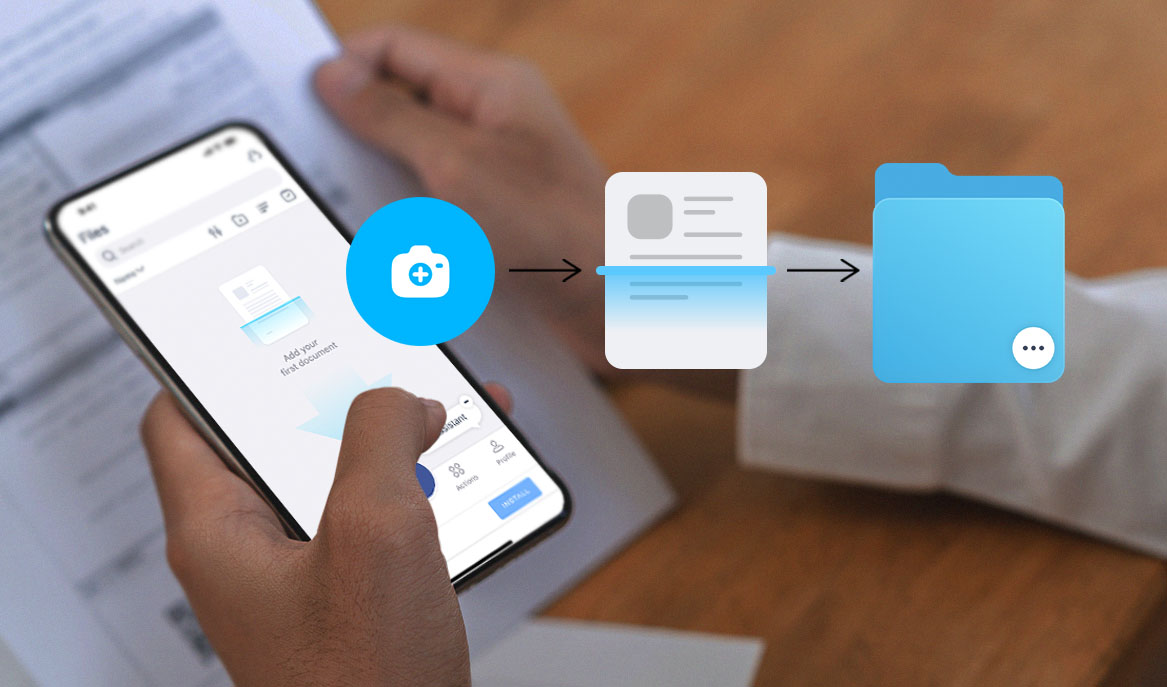
Cloud storage empowers seamless access, collaboration, and data security; therefore, it is a must-have today. Hence iScanner, a PDF scanner app, comes with excellent cloud storage available to both free and premium users. However, most people use more than one cloud service (due to device platform differences, for a clear separation between personal and work files, or simply out of habit). If you manage multiple cloud accounts, you’ll need to import files to various apps and efficiently upload them to the cloud. In this post, we’ll show you how to import files to your iScanner account from any cloud storage as well as how to upload to the cloud.

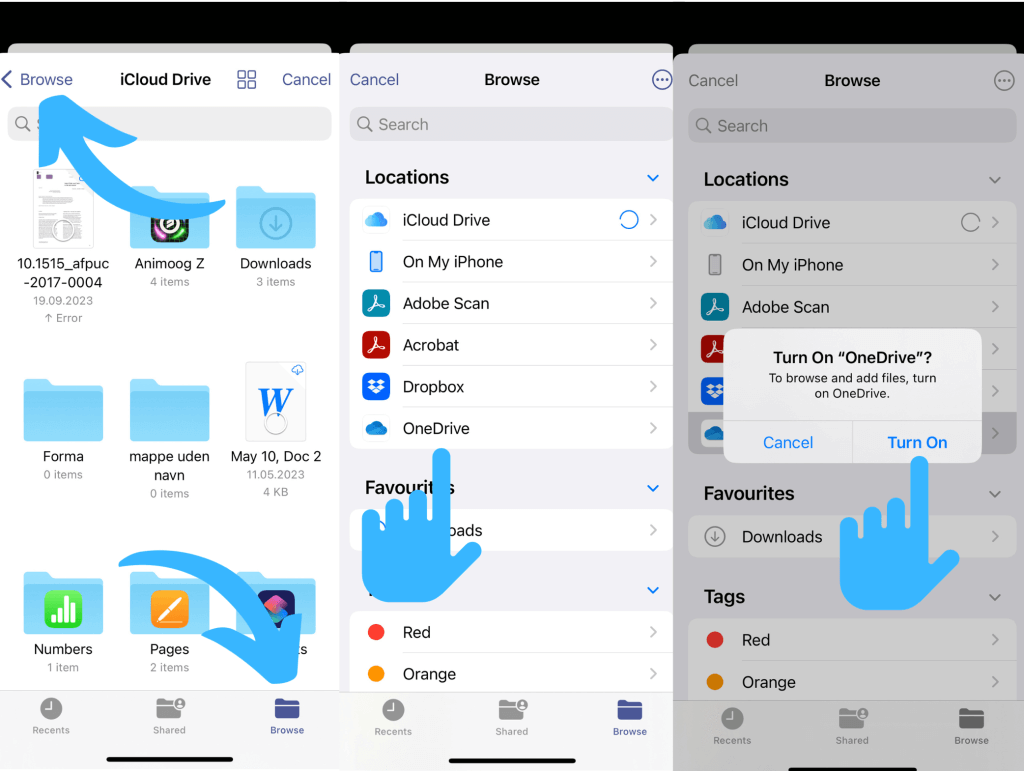
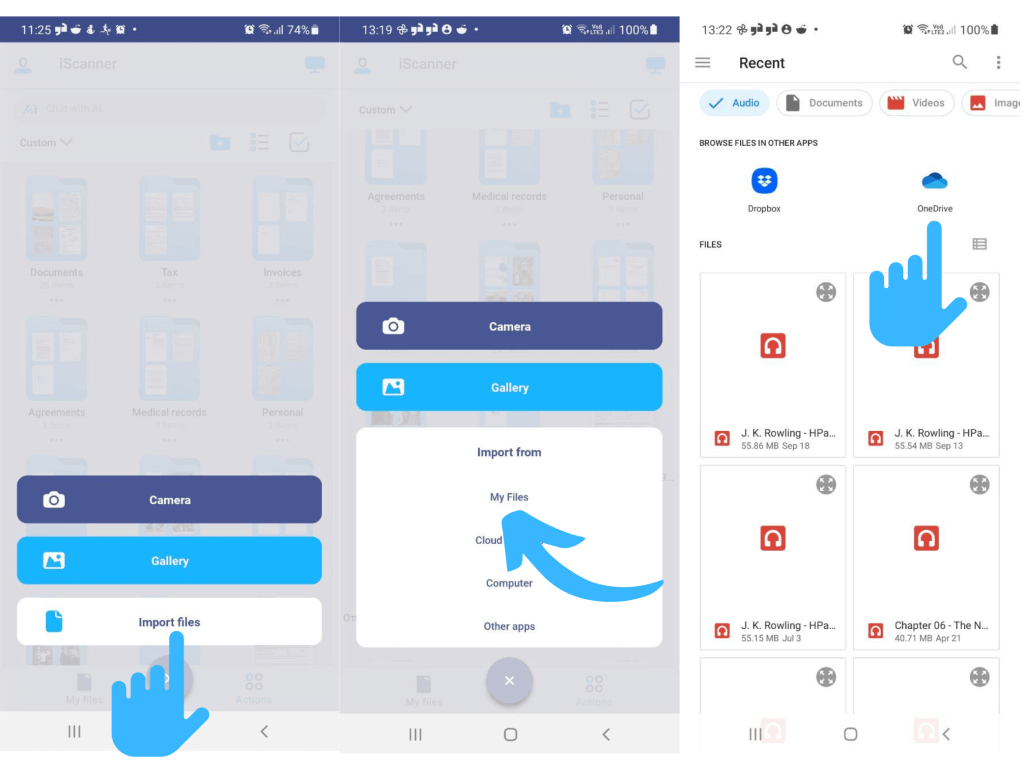
If you need to edit or sign a file that is stored on your Google Drive, Dropbox, Onedrive, or the like, you can import it to the iScanner app with just a few taps. What’s more, both iOS and Android versions of the app have video instructions on how to do it—you can watch them right in the app. To watch the video, tap Import Files and then Cloud Services.
With the iScanner app, you can upload to the cloud very easily. The flow is pretty much the same on both iOS and Android—all you need to do is tap Share, choose the required file format, and select your preferred cloud service from the list of sharing options.
If the only reason you’re uploading a file to the cloud is to access it on your computer, there’s a much simpler way to do it. All you need to do is go to myfiles.iscanner.com in any browser and log in with your iScanner account. In the web version of the app, you can search, move, delete, rename, and sign your documents, as well as create files and folders.

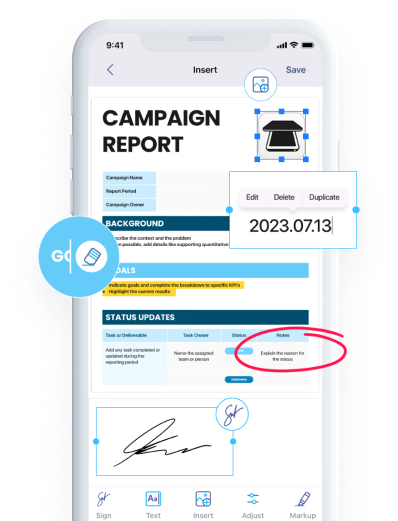
If you’re uploading your files to a shared location with multiple users, you can protect your files by adding a watermark to a piece of your content (be that image or text) for free in iScanner. Additionally, you can password protect your PDF files before sending them to ensure that only authorized users will be able to open them.