Here’s a multiple-choice question for you: you’ve received an urgent email with a document for you to sign while out and about, what do you do?
Rush to the office or to a print shop to print, sign, and scan it;
Rush home to your computer to sign it using your preferred signature software;
Ask for more time to return the document with your signature or simply ignore the email.
Neither option seems tempting, to tell you the truth: you either have to change your plans and rush or risk coming across as unprofessional or inflexible.
There’s a fourth option, though, that doesn’t involve any of this: sign it on your phone and email it back wherever you are!
In this post, we’ll tell you how to sign a document sent by email on your phone for free, risk-free, and hassle-free.
How to Sign a Document Sent by Email on Your iPhone
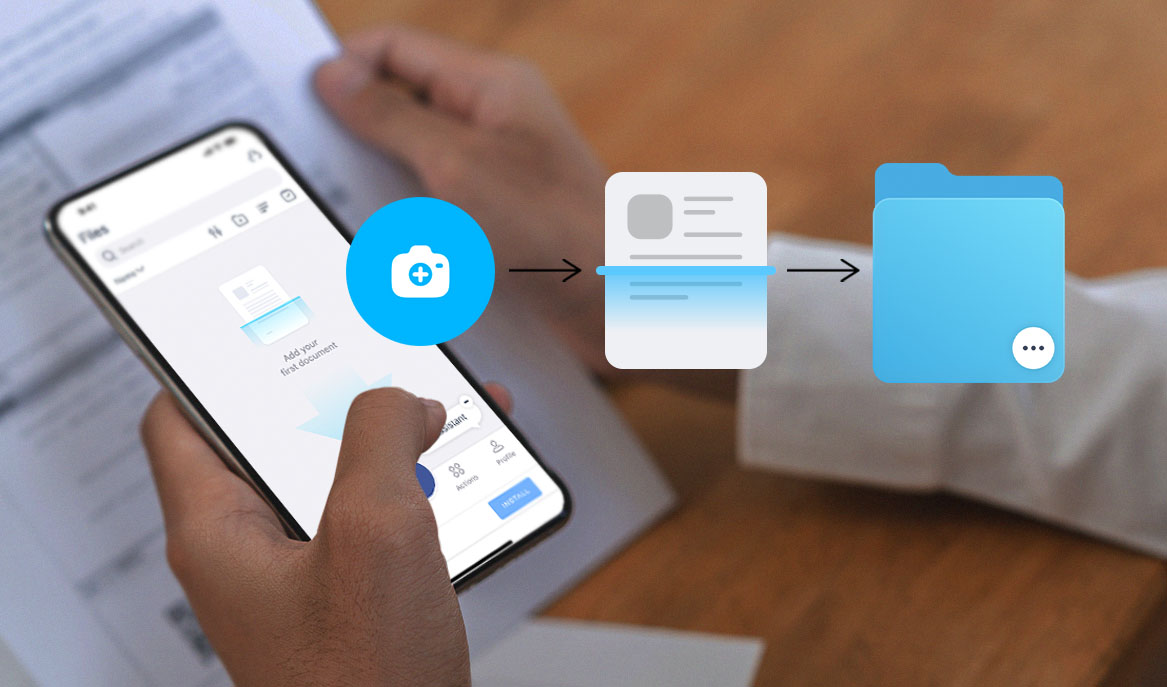
All you need to sign easily from your phone is a reliable app like iScanner. There are plenty of apps to choose from but iScanner is one that:
Allows you to sign for free;
Doesn’t make you register or get a trial so there’s nothing to forget to cancel;
Won’t apply branded watermarks (annoying footnote that says something like Signed with Brandname) like many other apps do;
You can add not only your signature but also initials and apply them to all pages at once which is super handy and saves time.
So, here’s how to sign a document sent by email on your phone:
Install the iScanner app. You don’t have to sign up for a free trial or subscribe—simply close the subscription page by tapping the “X” in the top left.
Open the email and tap the attachment.
Next, tap the share button in the top right and choose iScanner from the list of sharing options.
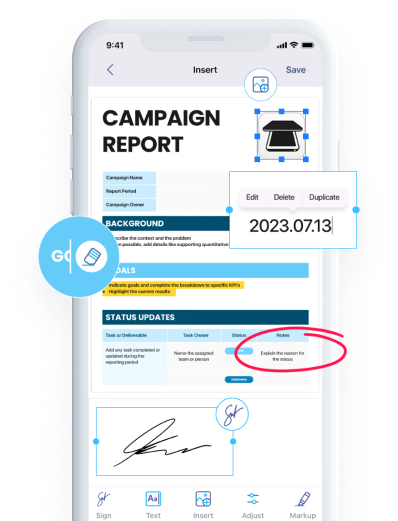
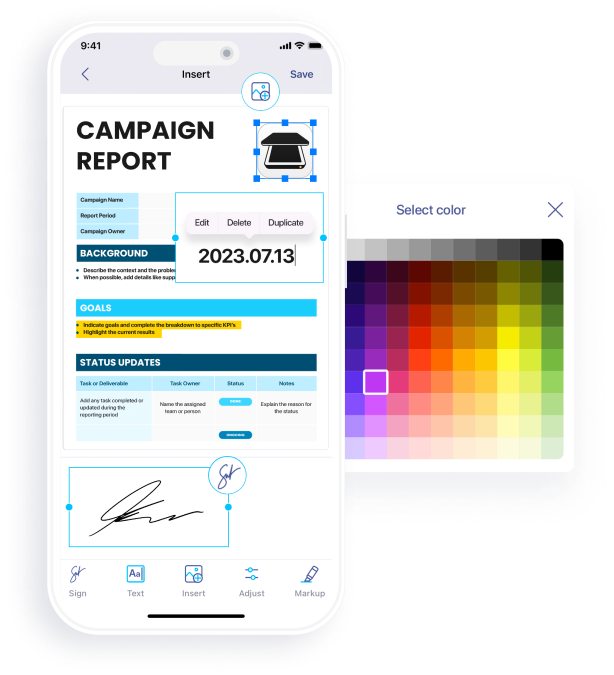
Your document will open in iScanner—tap Sign in the bottom left.
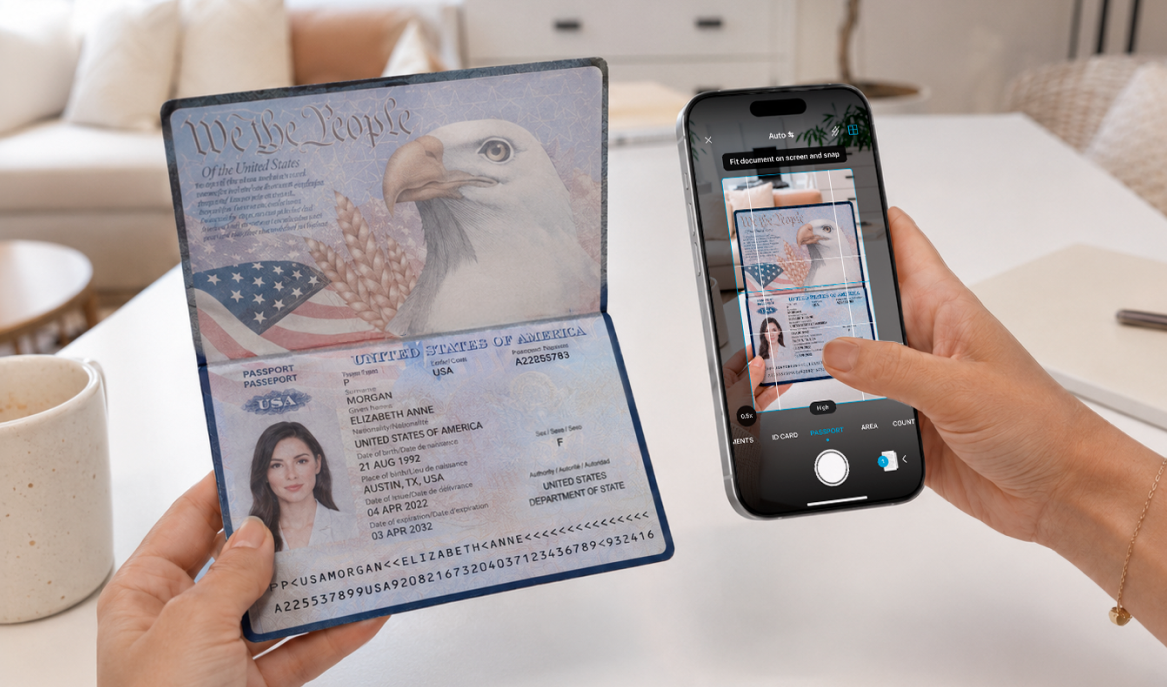
Now, choose the option you like best: draw your signature with your finger, pull it from a document using AI, or pull it from a hard copy using your iPhone’s camera. You can also type your name or initials next to the signature.
Finally, tap anywhere on your document to place your signature. You can make it bigger or smaller and move it around the page.
To email the signed document back, tap the share button at the top right, choose PDF, and next your preferred email app. All done!
What’s also great is the app will save your signature, name, and initials so that next time you need to sign, you’ll only need to tap on it.
How to Sign a Document Sent by Email with the Notes App
Third-party apps are not your only option because iPhones have a signature feature built into the Notes app. It’s a bit less intuitive compared to the flow we described above and takes a bit longer but it will also work.
Here’s how to sign with Notes:
Open the email and tap the attachment.
Next, tap Share in the top right.
Choose Notes from the list of sharing options.
Your document will open in the Notes app. Tap Save.
Now, you need to tap Share again and choose Markup from the sharing menu.
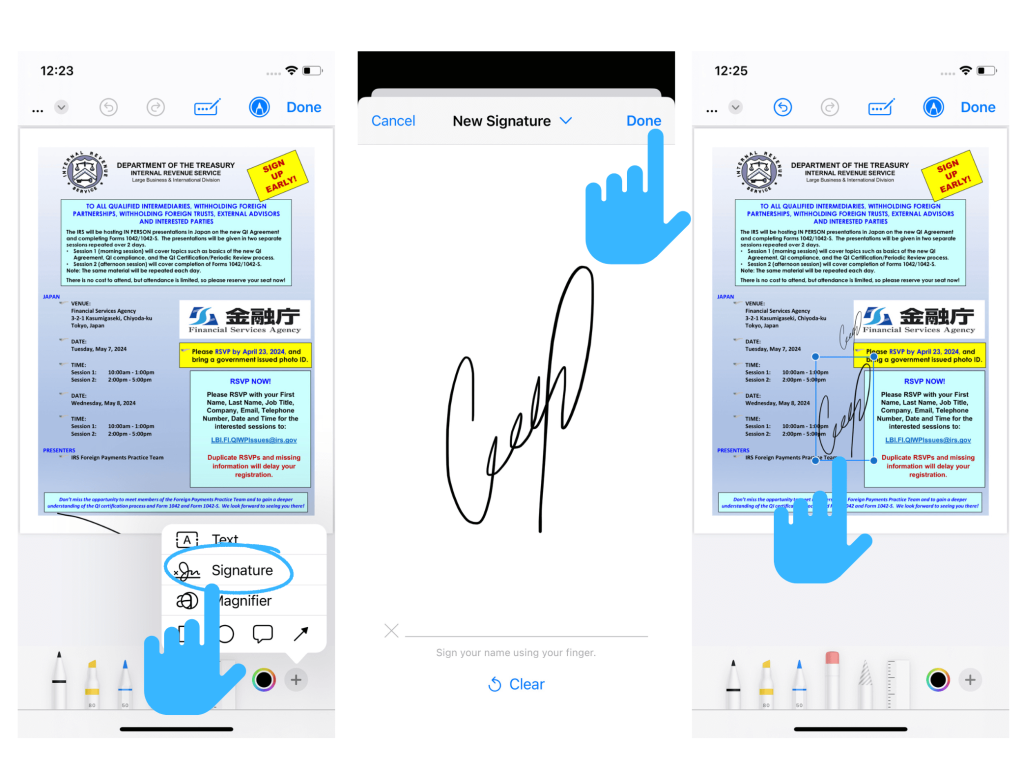
You will see the markup options at the bottom. Tap the plus icon.
Next, choose Signature from the dropdown list.
A signature window will appear for you to draw your signature in. Once you’re happy with it, tap Done.
Now, your signature will appear on the page. You can adjust the placement and size. Be mindful, though, because once you hit Done you won’t be able to make edits to it.
Tap Done and the app will prompt you to choose a location to save your document to.
Next, go to the Files app and choose the location where you saved your document.
Open your document, tap Share in the top right corner, and choose your email app. All done!
Several things to keep in mind when signing with Notes:
Notes will save your signature in the app for future use but you can’t apply it to all pages automatically.
Once you tap Done, you won’t be able to adjust the placement or the size of your signature.
Try to remember where you saved your document, as it will save you from wasting time looking for it when you want to email it back.
How to Sign a Document Sent by Email on Android
In iScanner, the flow is very similar to the iPhone one with some minor differences.
Install the iScanner app. You don’t need to sign up for the free trial or subscribe—simply close the subscription page by tapping the “X” in the top left.
Open the email and tap the attachment.
Next, choose iScanner from the Open with menu.
Your document will open in iScanner—tap Sign in the bottom left.
Now, choose the option you like best: draw your signature with your finger, pull it from a document using AI, or pull it from a hard copy using your phone’s camera. You can also type your name or initials next to the signature.
Finally, tap anywhere on your document to place your signature. You can make it bigger or smaller and move it around the page.
To email the signed document back, tap the share button at the top right, choose PDF, and next your preferred email app. All done!
How to Sign a Document Sent by Email on Android Using Google Drive
Google Drive has a signature feature too! It’s pretty easy to use and intuitive:
Open the email and tap the attachment.
Choose Google Drive from the Open with menu.
Your document will open in Google Drive.
Now, tap the pen icon in the bottom right corner.
Draw your signature on the document.
Tap Save Copy in the top right corner.
To email it back, open your Google Drive, find your signed copy, and tap three dots in the top-right corner of the file preview to open the actions menu.
Finally, choose Send a copy and pick your email app from the list of sharing options. All done!
Several things to keep in mind when signing with Google Drive:
You only get one shot at a signature meaning you won’t be able to adjust its size and placement on the page so be mindful. You can delete it, of course, and start again but who wants that?
The feature is not exactly large or shaking-fingers friendly—if you’re the owner of such fingers, your document might not end up looking quite right.
The app doesn’t save your signature so you’ll have to draw it every time. This might be a bit time-consuming if you need to sign or initial every page of a lengthy document.
Now that you know how to sign a document sent by email quickly and easily, the choice of tools is entirely up to you. Each option has its merits.
If the need to sign something arises once a year, an inbuilt tool will do just fine!
If you need to sign often, though, go for the iScanner app—it’s free to install and use and will save you boatloads of time and frustration in the long run.