
12 mar 2026
Knowing how to scan a document to email can save time when you need to send paperwork quickly. Many everyday tasks require sending documents by email, including submitting contracts, sharing receipts, or sending completed forms.
Some people assume they need a printer with a built-in scanner or office equipment to do this. In practice, documents can be scanned using smartphones, computers, or printer scanners. In many cases, a smartphone with a scanning app can handle the entire process in just a few minutes.
With a mobile scanning app like iScanner, you can capture a paper document, convert it into a clean PDF, and attach it to an email instantly. The app automatically improves document quality by straightening pages, removing shadows, and sharpening text.
This guide explains how to scan and email a document step by step using only your phone.
You can scan a document to email using a smartphone, computer, or printer scanner, including devices like iPhone, Android, Mac, Windows, or multifunction printers. Mobile scanning apps are often more efficient because they let you scan, edit, and send documents from one device.
So, to scan on a mobile device, just follow these steps:
Scan to email describes the process of turning a physical document into a digital file and sending it via email.
The process usually includes three steps:
People scan documents to email in many everyday situations, such as:
In the past, scanning required a dedicated scanner connected to a computer. Today, smartphones make scanning documents to email much faster and more convenient.
The simplest way to scan documents to email is by using a mobile scanning app like iScanner.
iScanner turns your smartphone into a powerful document scanner. Instead of relying on printer scanners or computer setups, you can scan paper documents directly with your phone camera and email them in minutes.
The app works on iPhone and Android, which makes it accessible for most users.
Key advantages include:
These features help professionals, students, and anyone handling paperwork scan and email documents quickly.
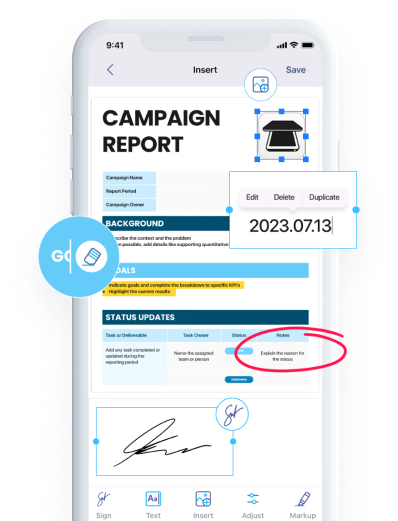
If you want to learn how to scan a document to email, the process with iScanner takes only a few simple steps.
After capturing the image, you can refine the document using editing tools.
You can:
The AI Refine feature enhances the document automatically by fixing edges, correcting perspective, and improving readability.
This step ensures your file is ready before sending a scanned document by email.
After editing the scan, save the document as a PDF file.
PDF is the preferred format when people want to scan and email a document because it preserves formatting across devices.
If you scanned several pages, iScanner allows you to combine them into one PDF file, which is helpful when you need to send scanned documents to email.
Once the file is saved, tap the Share option.
Choose Email, and the scanned document will automatically attach to a new message.
Next:
The scan is now ready to send. If you prefer, you can also attach the scanned document manually through your email app.
You can also attach the scanned file manually through your email app.
Follow these steps to attach a scanned document to an email:
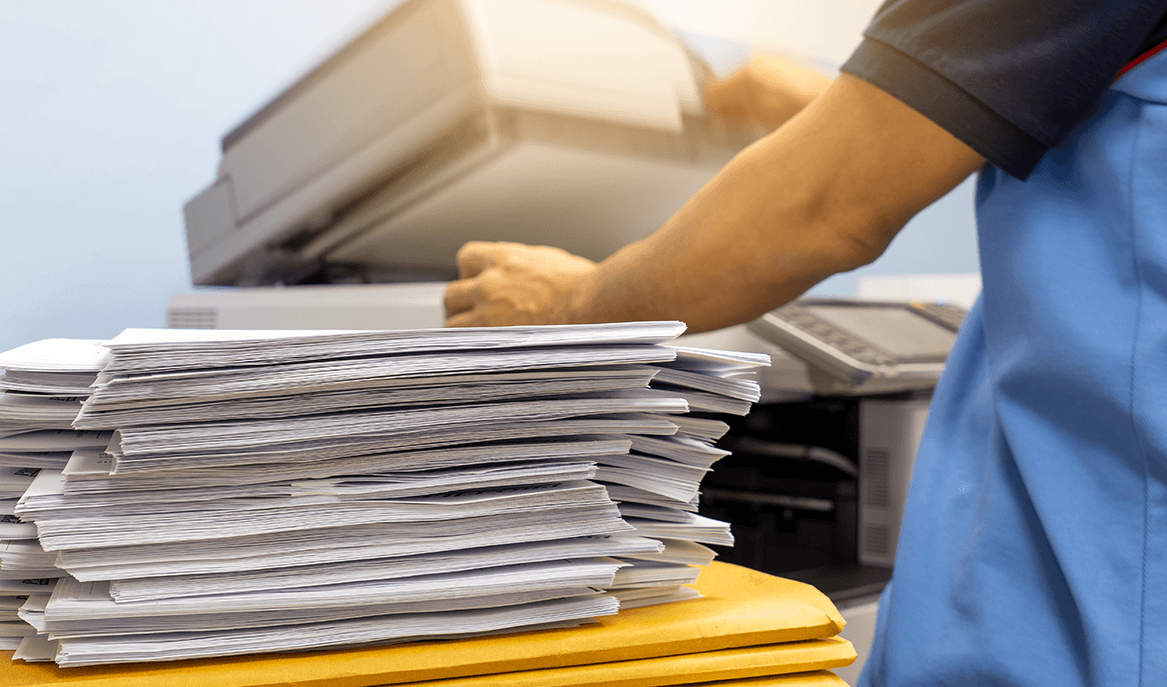
Yes. A printer is not required to scan and email documents.
Many multifunction printers include a scan-to-email feature, but they involve additional steps. People often need to scan the document, transfer the file to a computer, and then attach it to an email.
Mobile scanning apps simplify this workflow.
With iScanner, the entire process happens on your phone:
This makes “scan and send” workflows much faster.
Clear and readable digital files are important for record-keeping. Many organizations follow digital document standards to ensure documents remain accessible and easy to share. These tips help ensure your scanned documents look professional.
PDF files preserve formatting and are the most reliable option when sending scanned documents by email.
Review the scan to make sure the text is clear, readable, and properly captured.
Merge multiple pages into one file to keep documents organized and easier to send.
Proper lighting helps capture sharper text and improves the overall clarity of the scan.
Large files can slow down email delivery, so resize the PDF before attaching it.
If a PDF is still too large, you can compress it with iScanner or share the document using a secure link instead.
Learning how to scan a document to email makes it easier to manage paperwork digitally. Contracts, forms, and receipts can all be scanned and sent in just a few minutes.
With apps like iScanner, your phone becomes a powerful document scanner that can capture, enhance, and share documents instantly. This makes it easy to scan paper documents, convert them to PDF, and send them by email whenever you need.