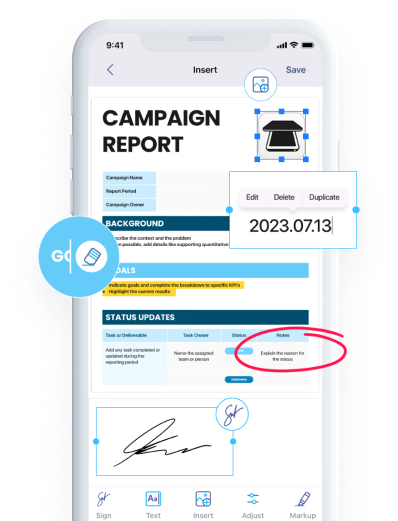

With the iScanner app, no questions will be left unanswered. It has an extensive FAQ section and a friendly support team that will address all your concerns.

Choose your platform:
The settings that you can apply to your scans are described in greater detail in the other sections of the FAQ.

Depending on the data stored in the code, you can:
 to see more details
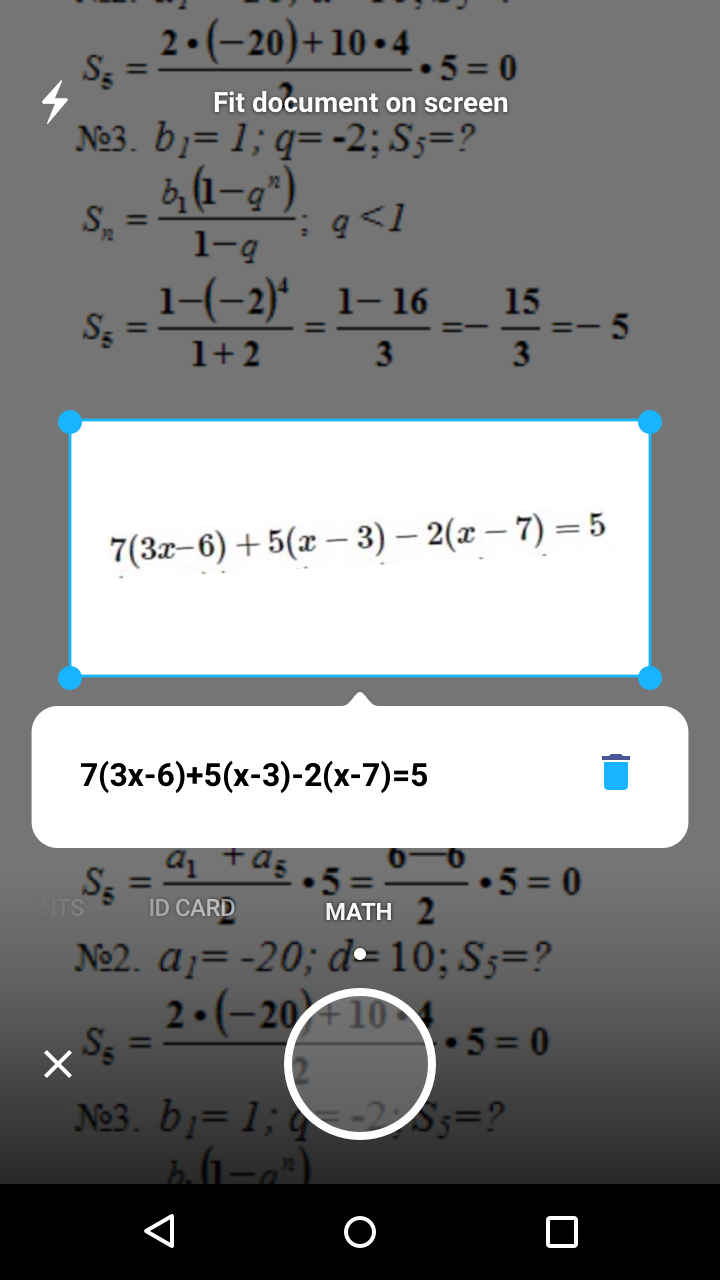
Please note that MATH mode is only available for users with a subscription.
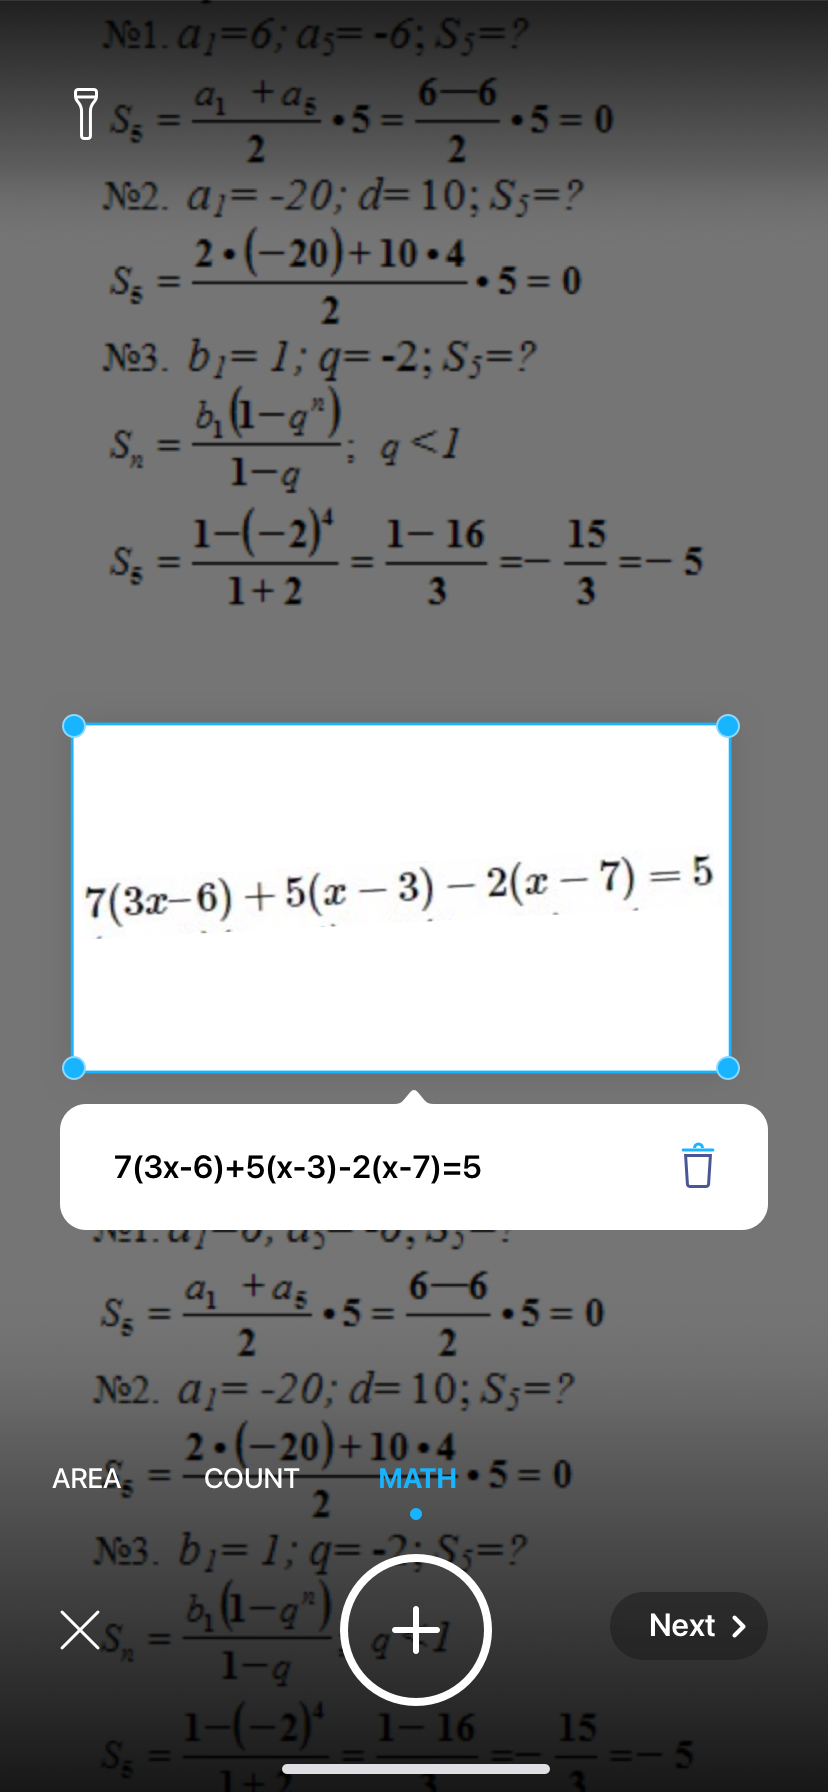
To take a single measurement:

To calculate the area of the object:
The settings that you can apply to your documents are described in greater detail in the other sections of the FAQ.
The following camera features will help you to improve scan quality:

By default, documents are scanned in black and white. But you can change the color mode on the Scan Settings screen.
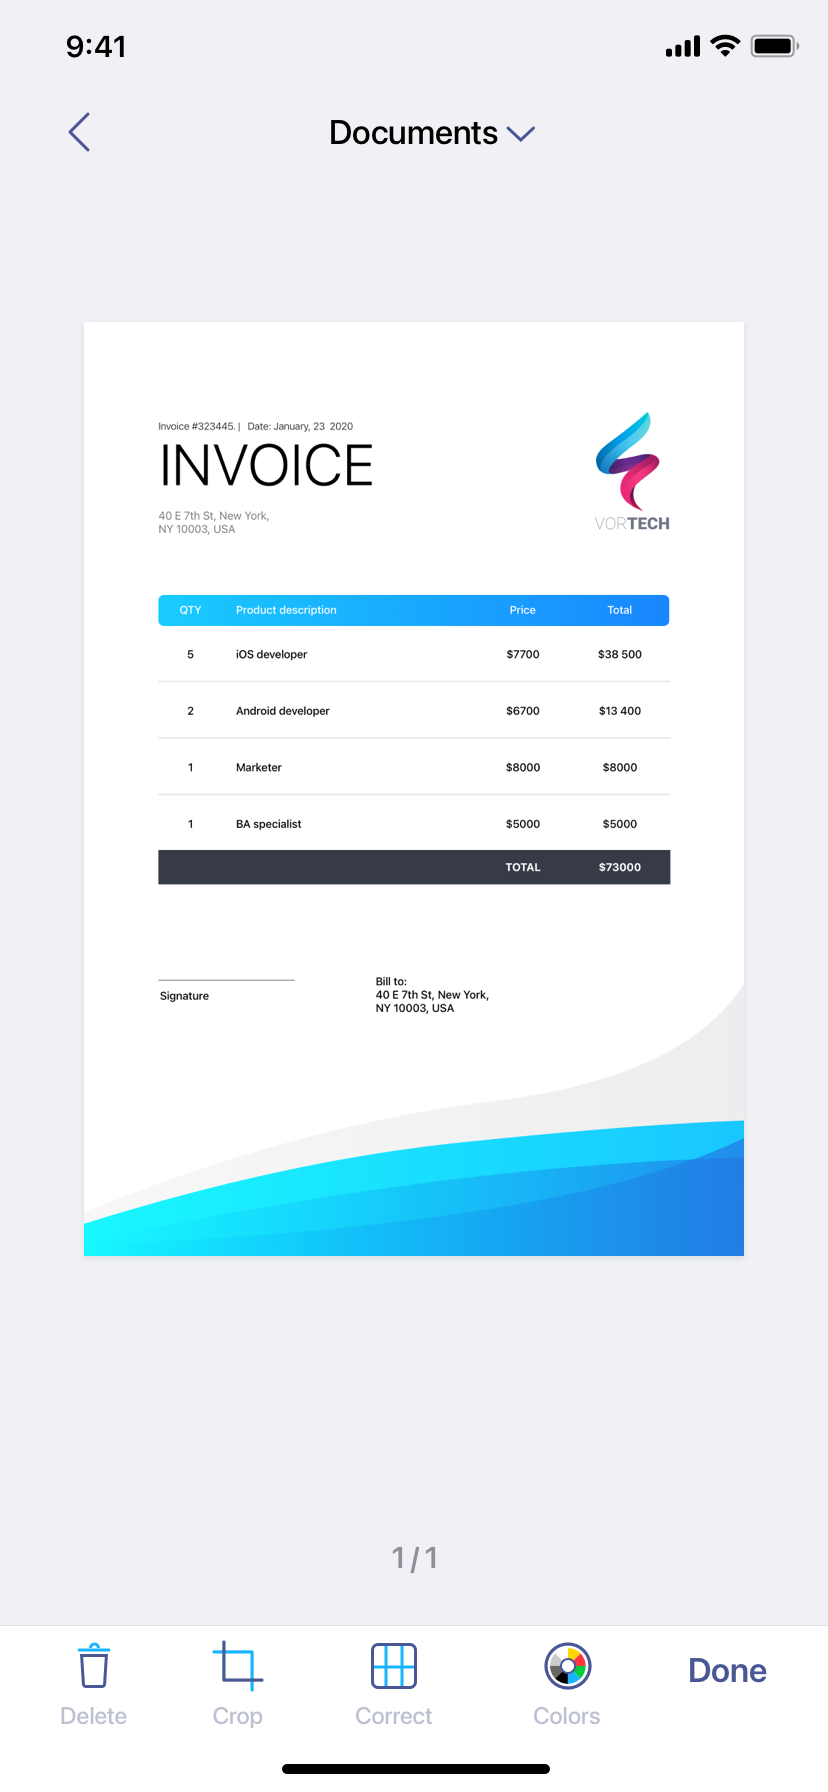
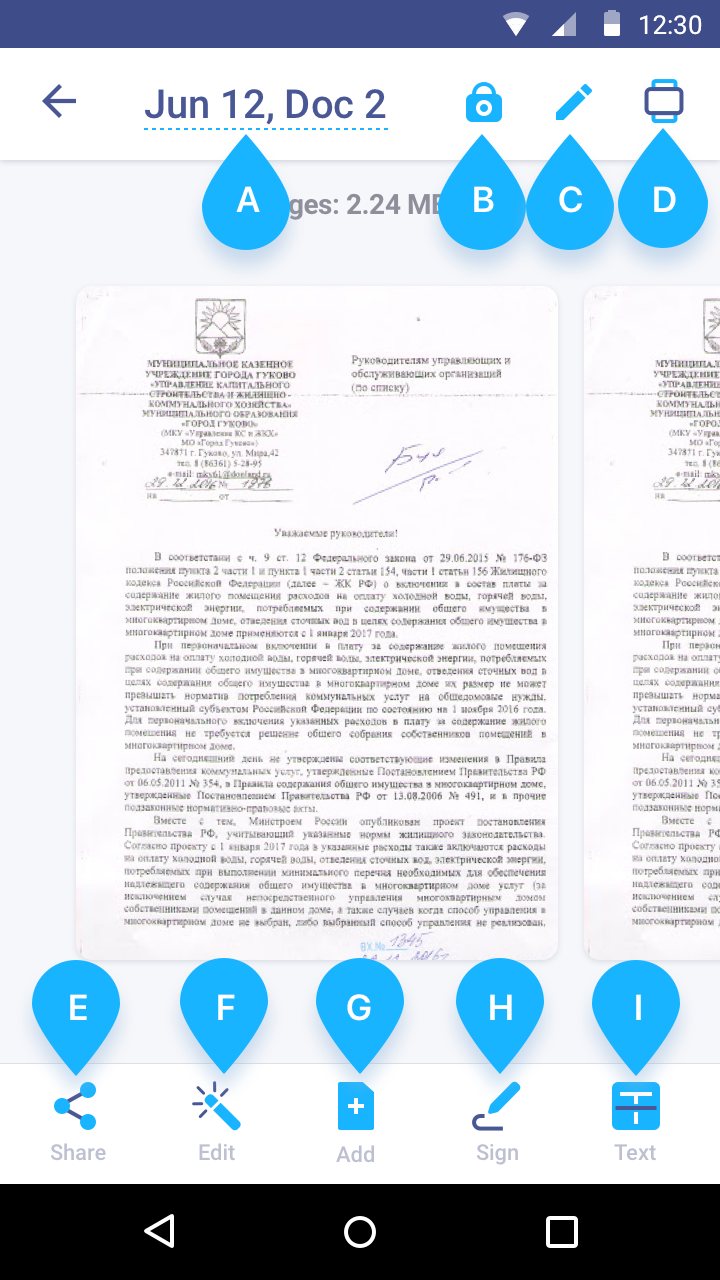
Open a document to see the available app features:

On this screen, you can:
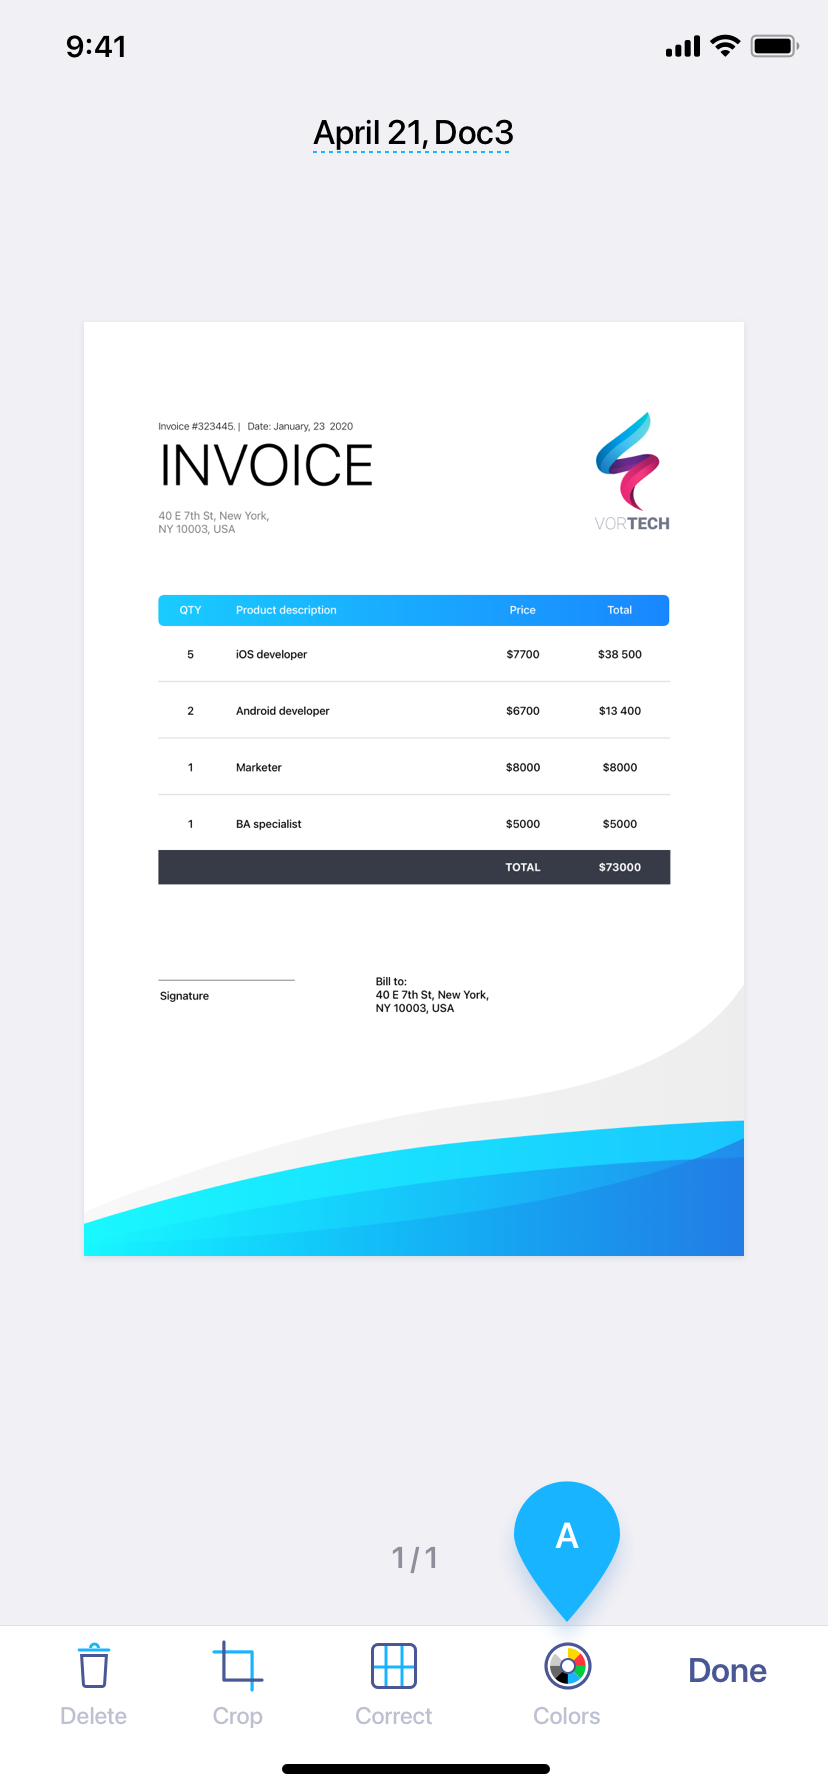
When you’re done with the page setup settings, tap Done.

If you want to export a single page or a number of specific pages: tap the Edit in the upper right corner; choose the page(s) you want to export and then export it/them exactly as described above.
Make sure you’ve entered your email in your device Settings.
Before you send an app document by email, make sure you have set up your email in your device settings. To do so, follow these steps:
After that, you can send app documents by email.
There can be several reasons for this:
To add more pages to an existing document, follow these steps:
After that, you can apply the necessary settings to your newly added pages as described in the previous sections of the FAQ.
If you have an active subscription within the app, restore it by following these steps:
Make sure you’ve entered your email in your device Settings.
To do so, follow these steps:
After that, you can send documents to yourself via Scanner App. Follow these steps:
You can also use Email to Myself with Scanner App option in other apps.
iScanner comes with secure cloud storage. With the cloud, you can:
To start using cloud storage, sign in to your iScanner account on your devices. Open the iScanner app and go to Settings. Then tap Sign In or Sign Up to log in or register.
After that, cloud storage will be available. In the app Settings, you can:
To start scanning a document:
To import a photo from Gallery:
The settings that you can apply to your scans are described in greater detail in the other sections of the FAQ.
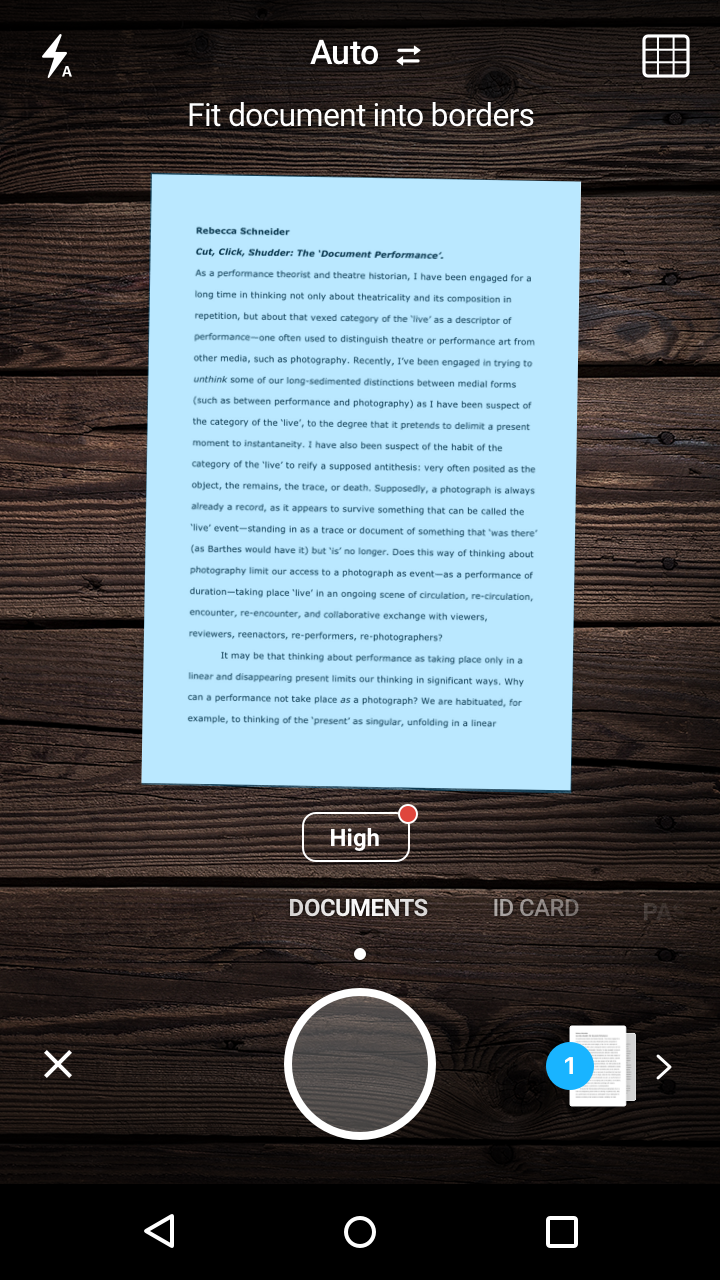
The Camera view has the following features:
On the Document screen, you can:
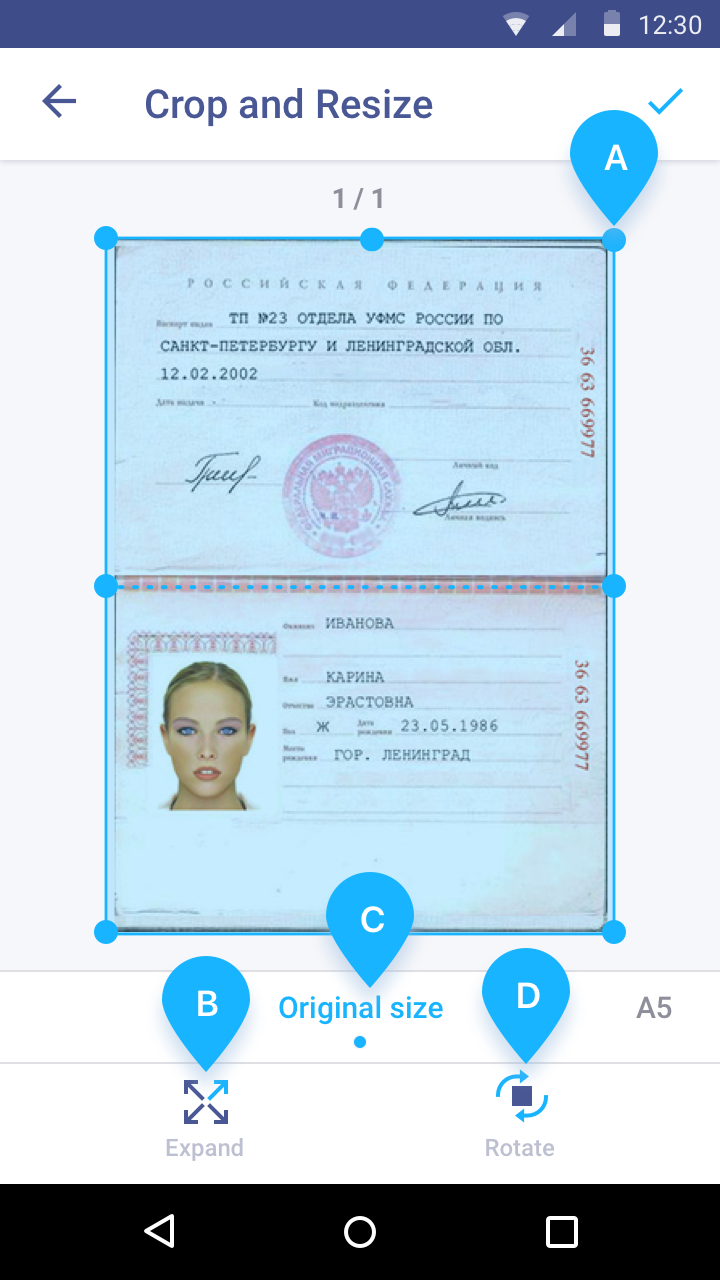
You can adjust the borders, rotate the page, and choose one of the common paper sizes on the Crop and Resize screen. To open this screen:
Note that you can also apply the Crop and Resize settings after you’ve scanned a document or added a file from Gallery.
On the Crop and Resize screen, you can:
When you’re done with the Crop and Resize settings, tap Save.
You can do this on the Scan settings screen. To open it:
On this screen, you can:
To cancel changes, tap the Back button in the upper left corner. When you’re done with the adjustments, tap Save.
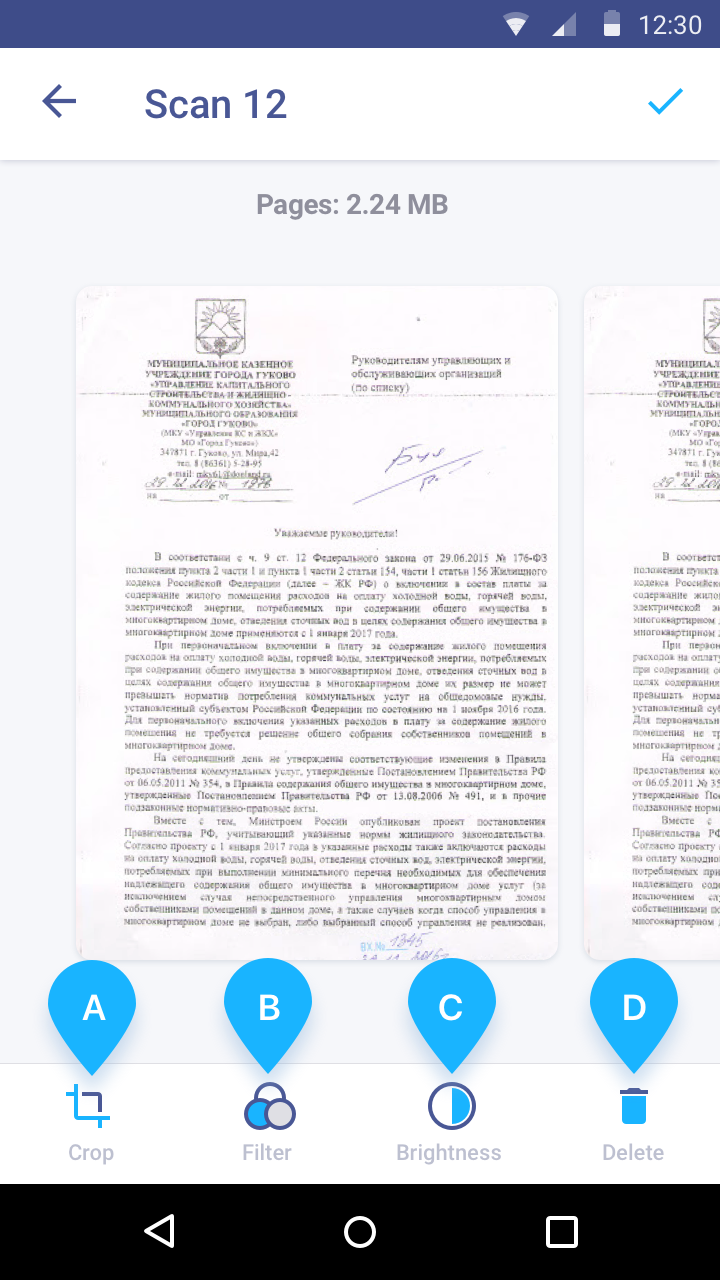
To export a scanned document, do the following:
If you want to export a single page or a number of specific pages, tap the Edit button ; choose the page(s) you want to export and then export them exactly as described above.
To add more pages to an existing document, follow these steps:
After that, you can apply the necessary settings to your newly added pages as described in the previous sections of the FAQ.
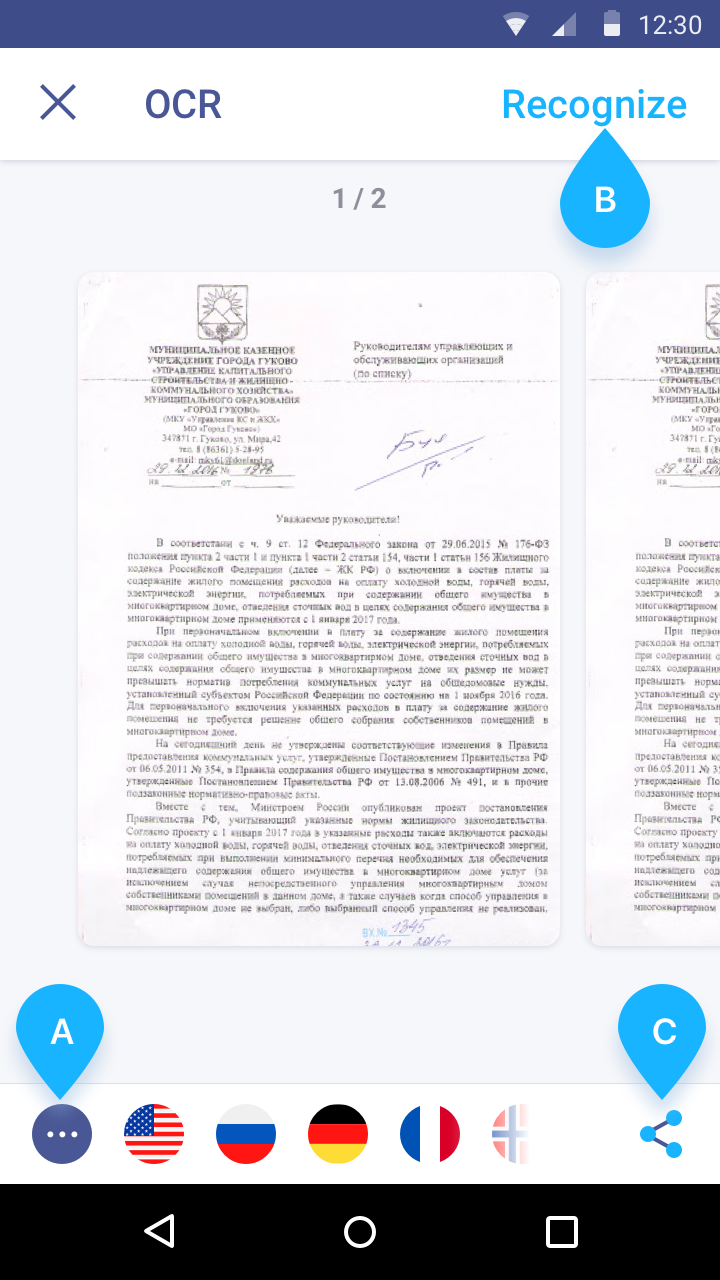
Please note that OCR is only available for users with a subscription.
With the help of OCR function, you can recognize text from a scanned document, edit and export it as a TXT file.
Please note that MATH mode is only available for users with a subscription.
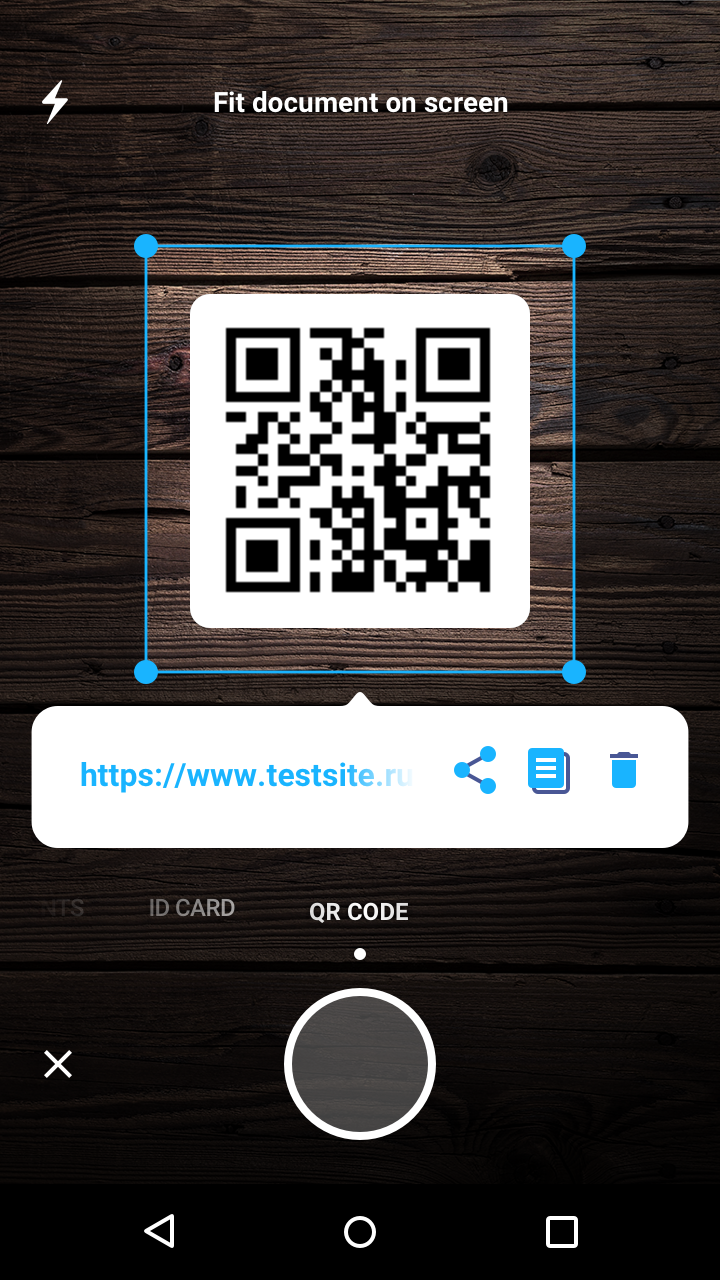
Depending on the data stored in the code, you can:
iScanner comes with secure cloud storage. With the cloud, you can:
To start using cloud storage, sign in to your iScanner account on your devices. Open the iScanner app and go to Settings. Then tap Sign In or Sign Up to log in or register.
After that, cloud storage will be available. In the app Settings, you can:
