
10 oct 2022
We’ve already told you about iScanner’s color filters that can do wonders for your scans in the blog post here. Truth be told, the name ‘color filters’ doesn’t really do them justice. Each filter is a smart algorithm that controls a whole array of parameters and therefore makes picture editing as easy as it can be. The new iScanner’s Autocolor filter is even more unique. In this post, we’d like to explain what it is, what it does, and how you can get the most out of it.
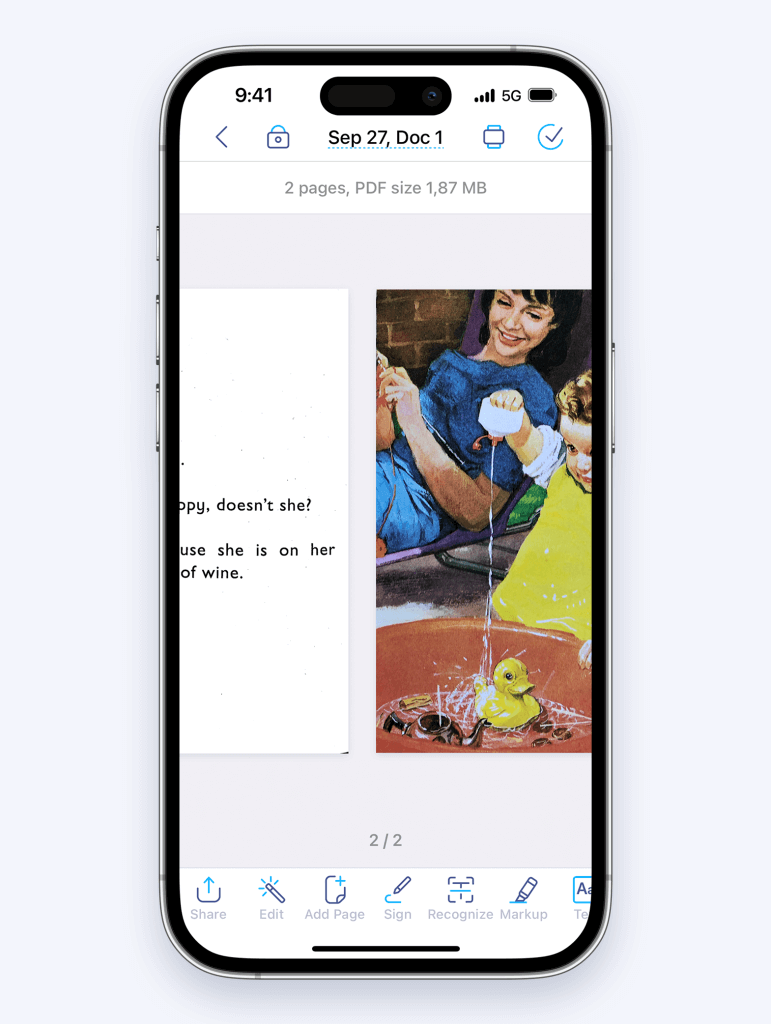
The iScanner’s Autocolor filter is not, strictly speaking, a filter but a cleverly designed algorithm that can detect color. Upon detection, it automatically applies the respective color scheme to your scan. For example, if the page you’re scanning is black and white, the app will apply the black-and-white filter to it without you doing it manually.
If you need to scan a lot of documents that are mostly black-and-white but contain several pages with colored images that you’d like to keep that way in scans, the autocolor filter can become your best friend. And here’s why.
In the aforementioned scenario without the autocolor filter, you have several options, none of which is particularly convenient. The first option would be to scan all pages with the Original filter applied. This means that all pages in the scan will be colored, which is great for colored pages but not so much for black-and-white ones. It’s no secret that black-and-white documents look much nicer and tidier in black-and-white. So, to achieve the best results, you’ll need to select all black-and-white pages manually and switch the color scheme to Black-and-white.

The second option would be to manually select the color scheme for each page when scanning: i.e., Black-and-white for black-and-white pages and Original for colored pages. The third route you can take is to scan the whole document in black-and-white, then handpick the pages with colored images and switch the color scheme to Original for those. All these options will work and give you the result you want but can prove time-consuming and tedious.
With the autocolor filter applied, however, the app will do all the hard work for you. The algorithm will detect which pages are black-and-white and which contain colored images and apply the best filters to them with no effort on your part.

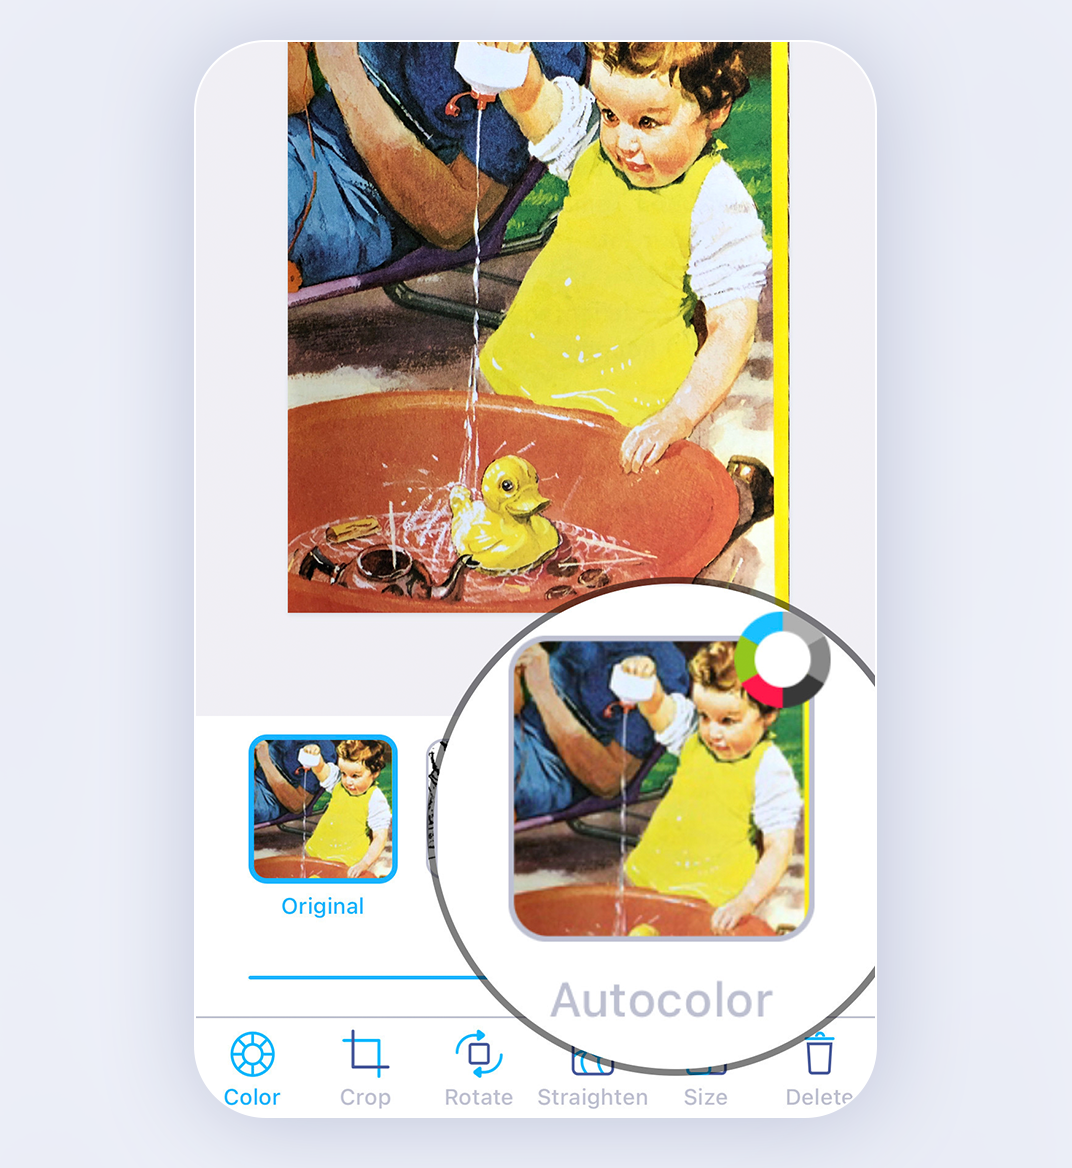
For your convenience, the autocolor filter for your scans will not be enabled by default. You can activate it in the Edit menu. Hit Edit, then Color, and select Autocolor in the next menu. The app will use it for all documents going forward until you change it to another filter within the same menu.
An important thing to keep in mind is that lighting matters when it comes to color detection. If the light source in your room gives a yellowish or bluish tinge to the paper, the algorithm might pick it up and consider the document to be colored. Therefore, for correct color detection, we recommend using neutral ambient light.
The autocolor filter is now available in the app for both iOS and Android. Don’t hesitate to check it out: iOS and Android.
