Gone are the days when we needed to visit a print shop just to scan documents—good riddance! Nowadays, we all carry a portable powerhouse right in our pockets that can handle a multitude of tasks, including scanning. We’re talking about smartphones, of course! In this post, we’ll explore how to scan with your iPhone. Plus, we’ll delve into some additional tricks to manage your paperwork on the go, allowing you to do more than just basic scans whenever needed.
How to Scan with iPhone if You Scan Very Occasionally
If you only need to scan and manage paperwork once in a very long while, you won’t even need to install anything as iPhones come with scanning software built into iOS ever since iOS 13. The Notes app is all you need and it does a pretty decent job.
How to Scan with the Notes App
Scanning with the Notes app may not be the most intuitive process in the world but it will do. The nuisance is that you can only scan within an open note with scans appearing as an attachment to your note. First, you’ll need to create a note or enter an existing one. Here’s a step-by-step guide on how to scan with your iPhone using the Notes app:
Open the Notes App. It typically has a yellow icon with a white notepad.
Create a New Note. Tap on the icon to create a new note. If you want to add the scan to an existing note, you can open that note instead.
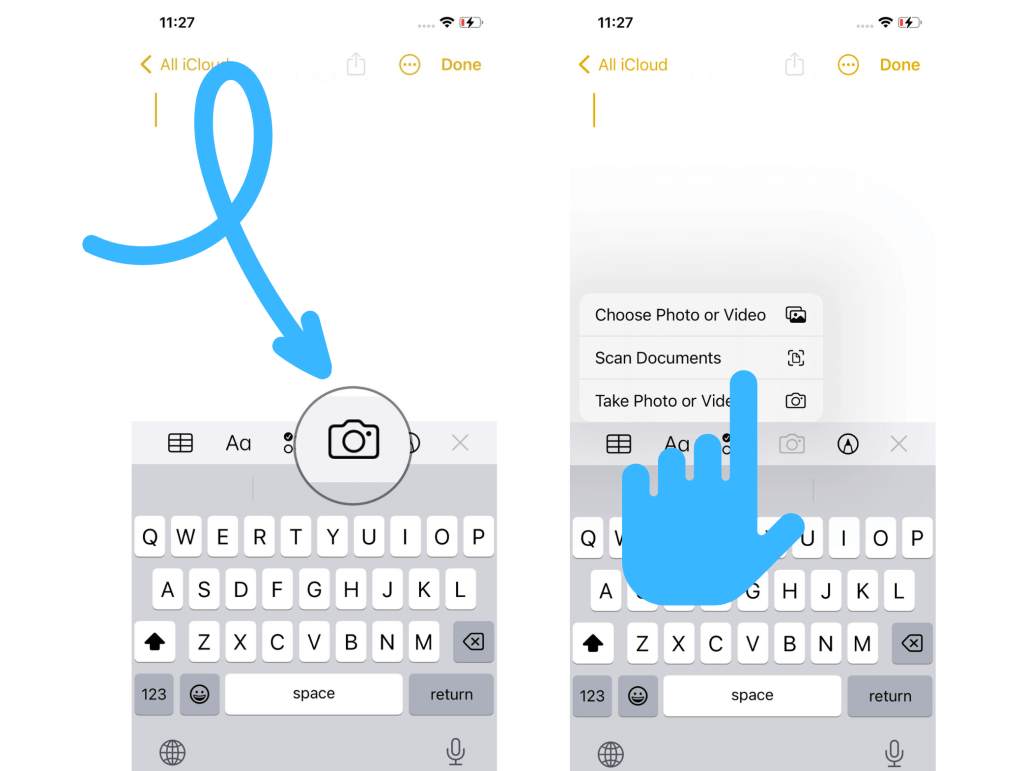
Access the Scanning Feature. Once you’re in the note you want to add the scan to, tap on the “+” icon located at the bottom of the screen. This will bring up the menu for adding content to your note—tap the camera icon.
Select “Scan Documents”. From the next menu, select “Scan Documents.” This will open the scanning interface within the Notes app.
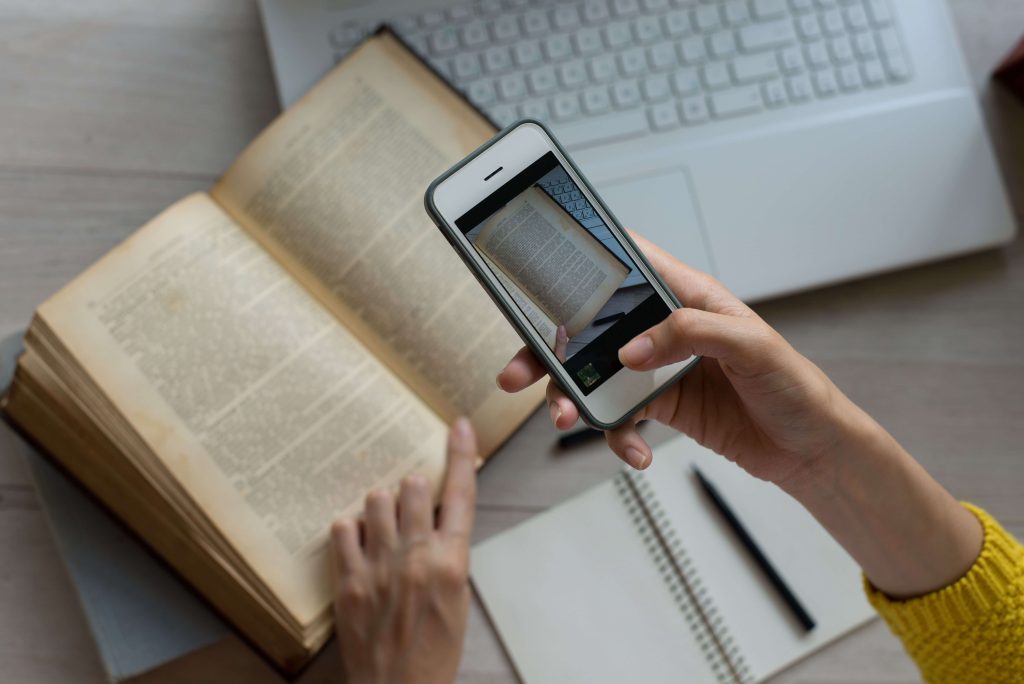
Position the Document. Hold your iPhone or iPad over the document you want to scan. Make sure the document is well-lit and that the entire page is visible within the camera frame.
Wait for the Automatic Detection. The app will detect the edges of the document and capture the scan. If necessary, you can manually adjust the edges.
Adjust Settings (Optional). After capturing the scan, you can adjust settings such as color filters (e.g., grayscale or black and white) by tapping on “Filters” or cropping the document by tapping on “Crop.”
Save the Scan. Once you’re satisfied with the scan, tap on “Done” and then “Save” to save it to your note.
That’s it! You’ve successfully scanned a document using the Notes app on your iOS device. You can now access and manage your scanned documents within the Notes app as needed.
Some Pro Scanning Tips to Get the Best Results
Hold your phone parallel to the surface of the document. This will help avoid perspective distortions and make the document look more professional.
Make sure your document is occupying as much of the frame as possible. This will increase the resulting resolution.
If you can’t help the shadow from your hands and phone from appearing in the scans, try repositioning your light source so that you’re facing it. Try to avoid direct overhead light as it produces harsh shadows you won’t be able to fix even if you’re a Photoshop Pro.
Just in case, check that your camera lens is clean before scanning.
If you’re scanning in color, avoid using a flash because it will cast a glare, distort the true colors beyond recognition, and give the scan an abysmal color cast.
How to Scan with iPhone Like a Pro
If your job involves extensive paperwork, or you’re approaching a document-intensive event such as buying or selling a house, starting a new job, or submitting college applications, a reliable scanning app is essential. For professional purposes, scans must not only look professional but also be professional. What do we mean by “be professional”? Well, professional use normally requires scans to be no less than 300 dpi. Plus, if you deal with documents, you’ll likely need to sign, edit, merge PDFs, and find them quickly. The Notes app does a decent job if you need to insert a scan into your notes once in a while, but as the name implies, it’s been designed for notetaking. For professional use, you’ll need professional tools.
iScanner has been designed for this purpose exactly. That’s why it’s used by 100M users worldwide, most of whom use it for work-related purposes.
To top it off, it allows you to sync and access any document in the app from a desktop regardless of the platform, which might be a problem with the Notes app whose web version isn’t exactly seamless if your desktop is anything but a Mac.
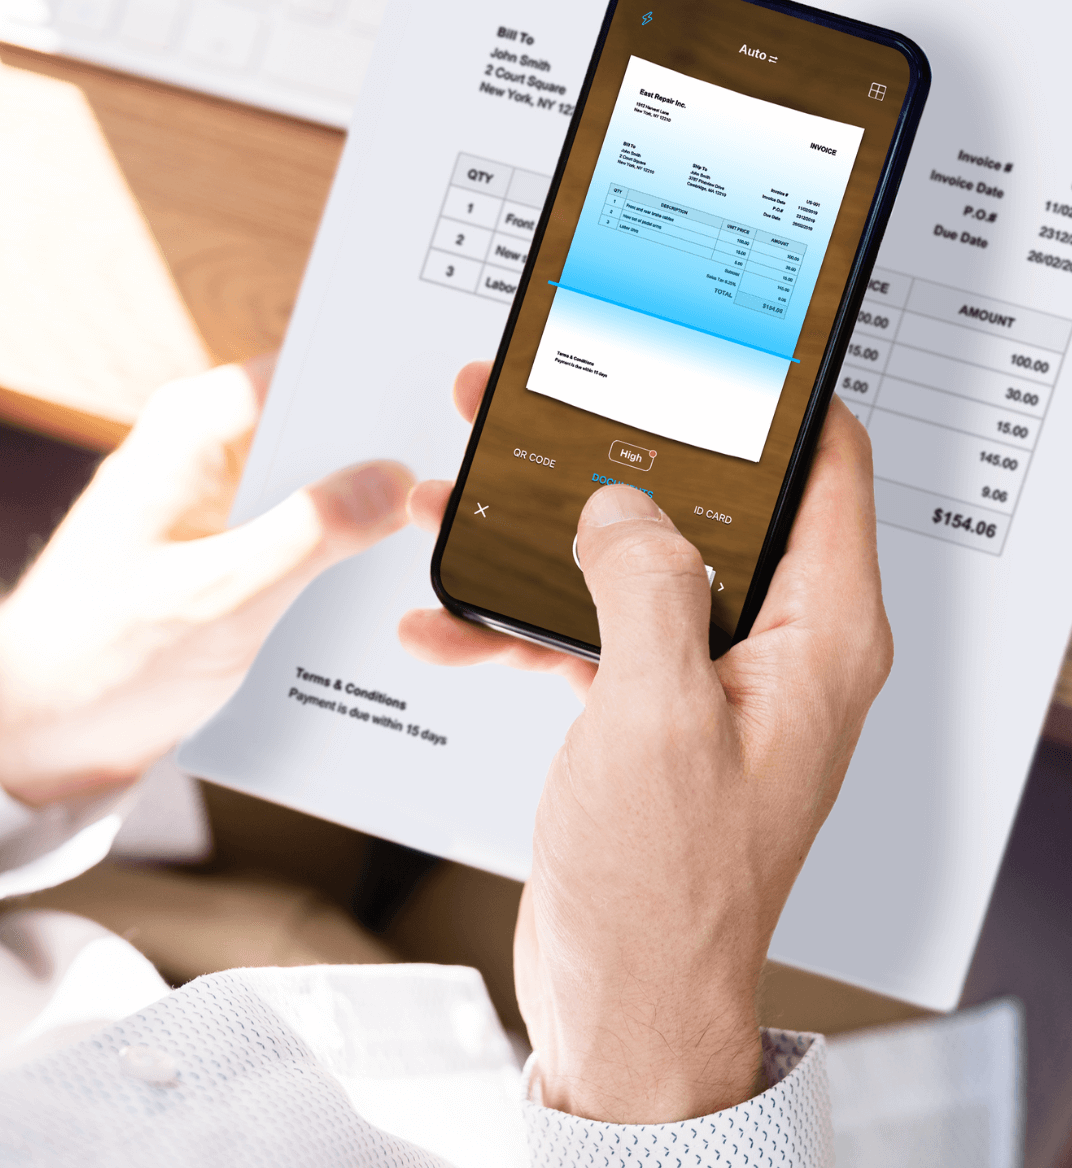
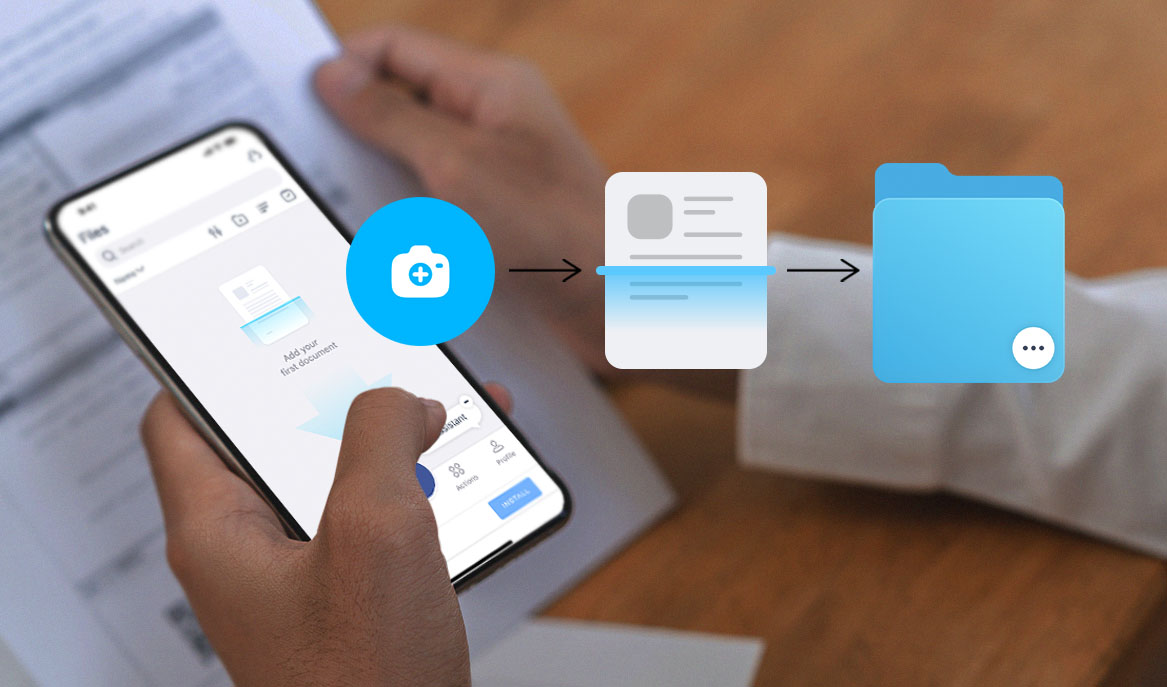
Open the app and tap the + icon in the center of the screen.
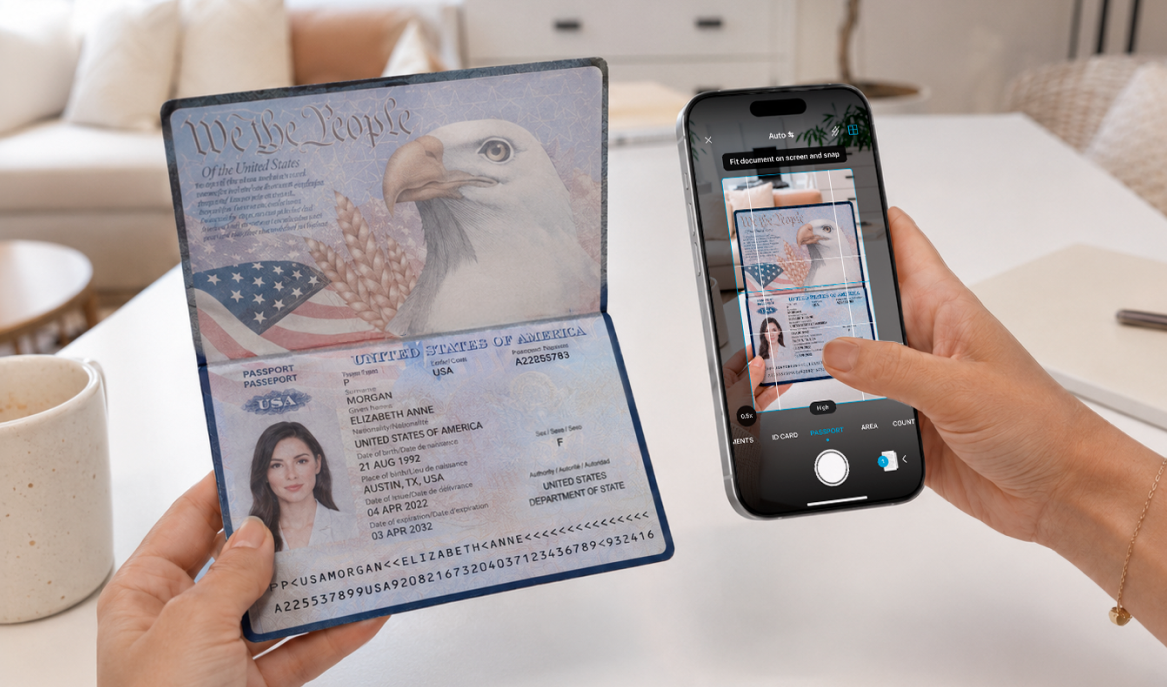
Choose Camera and point your phone at the document. If you’re scanning for anything professional, set the resolution to 300 dpi.
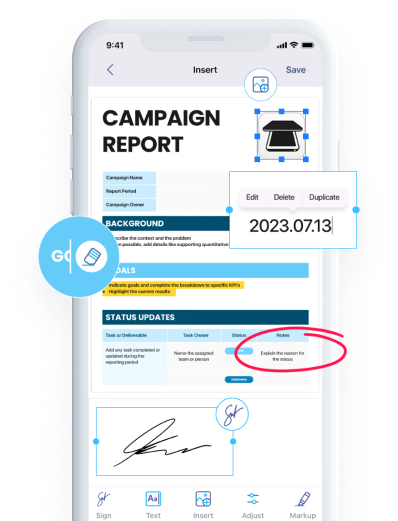
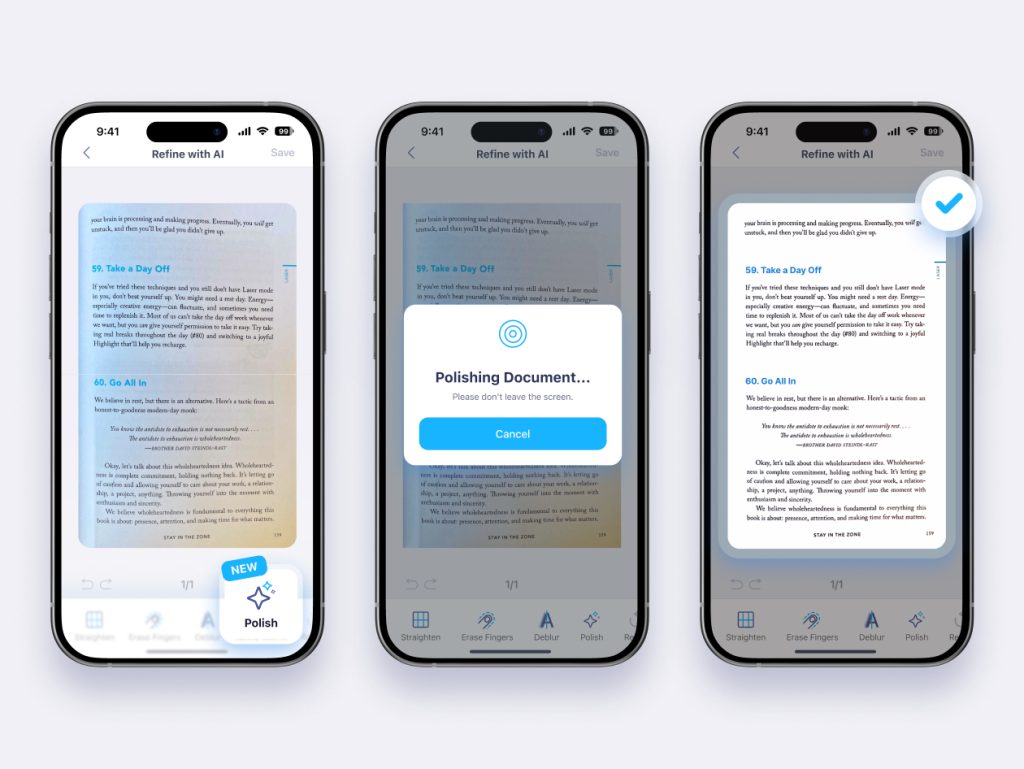
All done. You can polish your scan with the help of AI features if you tap Adjust and then AI Refiner or do basic edits from the menu at the bottom of the screen.